A renovation tale: The finish line (Part 3)

As promised, Dark Horse is happy to (at last) bring you the final installment of our “Professional cabinetmaker wrestles his own kitchen reno to the ground” story, complete with photos.

As mentioned in earlier posts, there are distinct pros and cons to doing your own kitchen overhaul. 

The good news is that you’re likely to end up with exactly what you wanted, down to the smallest details. 

The bad news? That might take a lot longer than you’d imagine.

When you’re spending most of your time working on projects for paying clients, it can really slow your progress to the finish line of your own kitchen. Just to be clear – for me, the finish line doesn’t mean you can put things in your cabinets or cook a meal in the kitchen. For me, it means every last detail is complete, and every aspect of the kitchen reno is so pristine that you’d feel at ease about bringing in a professional photographer to photograph the “After.” 

After the bulk of the work was complete on my project, a handful of items lingered on the check list for months and kept me from declaring it finished. 
Getting by with a little help from your friends

A major woodworking trade show was held in Atlanta last August, and my friends and fellow board members from the Cabinet Makers Association came to town.

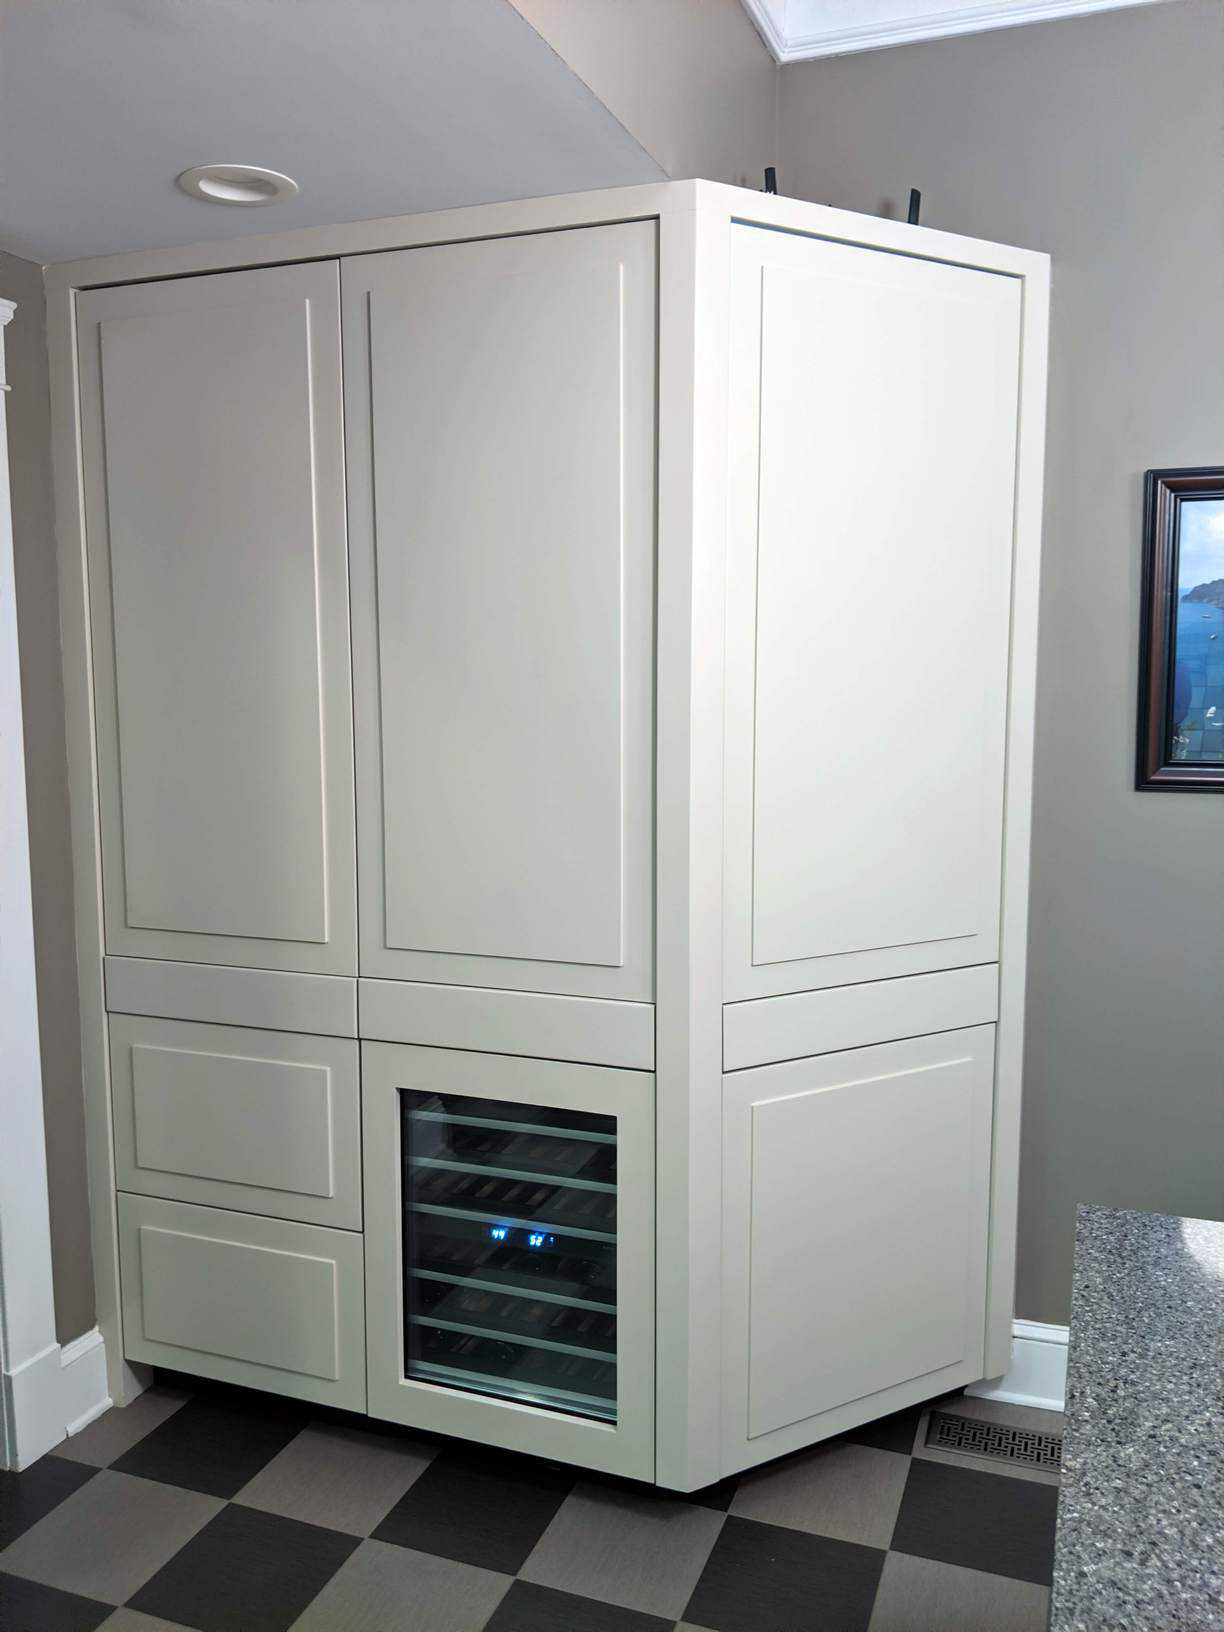
I had the CMA crew over for dinner one night before the show got under way. Given that everyone knew about my reno, it was a great opportunity for them to see the mostly finished version. I planned to tell them about one of the lingering issues on my to-do list and get their advice: The wine fridge door wouldn’t open correctly. 

It was hitting the divider to the right of it, and I hadn’t been able to figure out how to fix it. 

Former CMA president Matt Krig came over first, and we looked at the problem door and talked through it; then board member James Fox arrived and joined the conversation. Eventually, Monika Soos and her husband Radu arrived, and I pointed out the problem to them. 

“Why don’t you just reverse the door?” Radu asked.

Of course.

The very simplest and most obvious solution had never even crossed my mind – or occurred to the others as we stood around staring at the problem. 

Sometimes you can’t get out of your own way.

(Thank God they came over.)
The details

Aside from those final tasks dragging on for longer than I’d have liked, I couldn’t be happier with the way the kitchen turned out. 

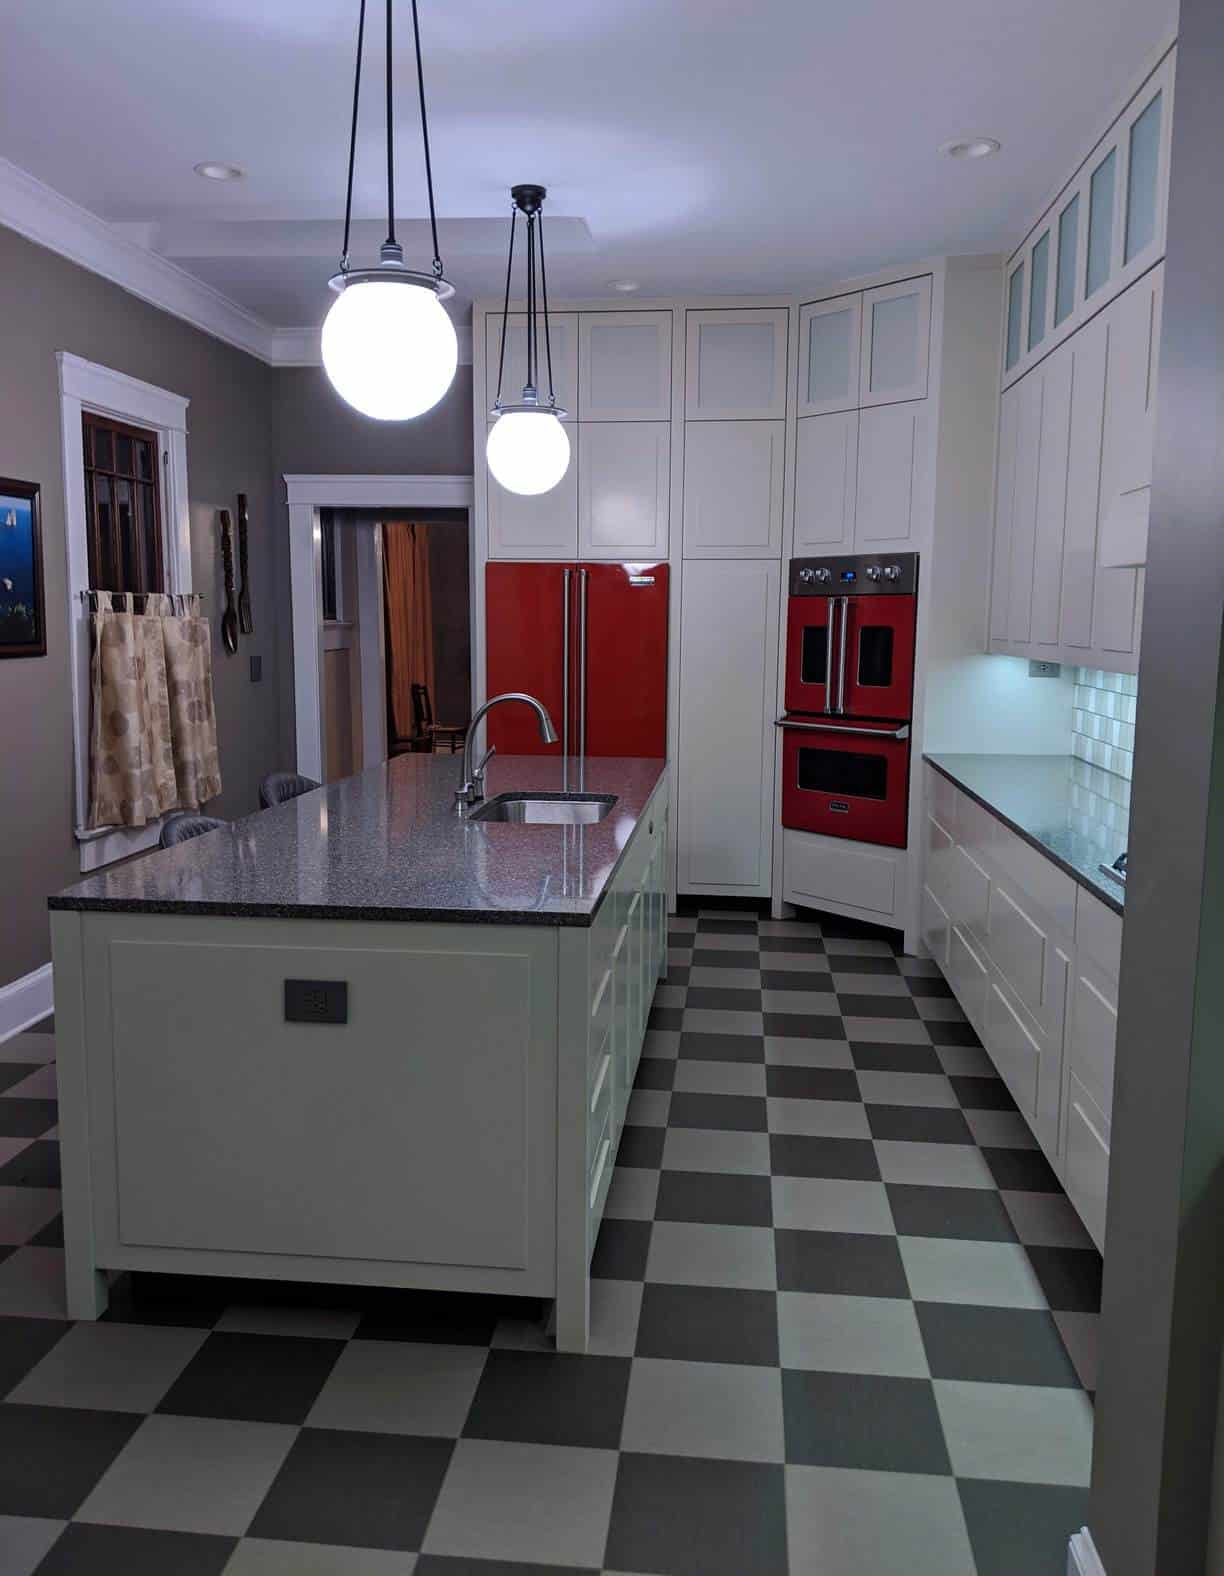
It has the look and feel we were going for – a mix of modern and retro elements (you can read more about the thinking behind the design in this earlier installment). 

The color scheme was an off-white that had a green tint with red and gray accents. Designers Christy Dillard and Heidi Pearce helped with the overall color schemes (including working around the red oven).

Here’s a rundown of the main features and details in the new kitchen: 

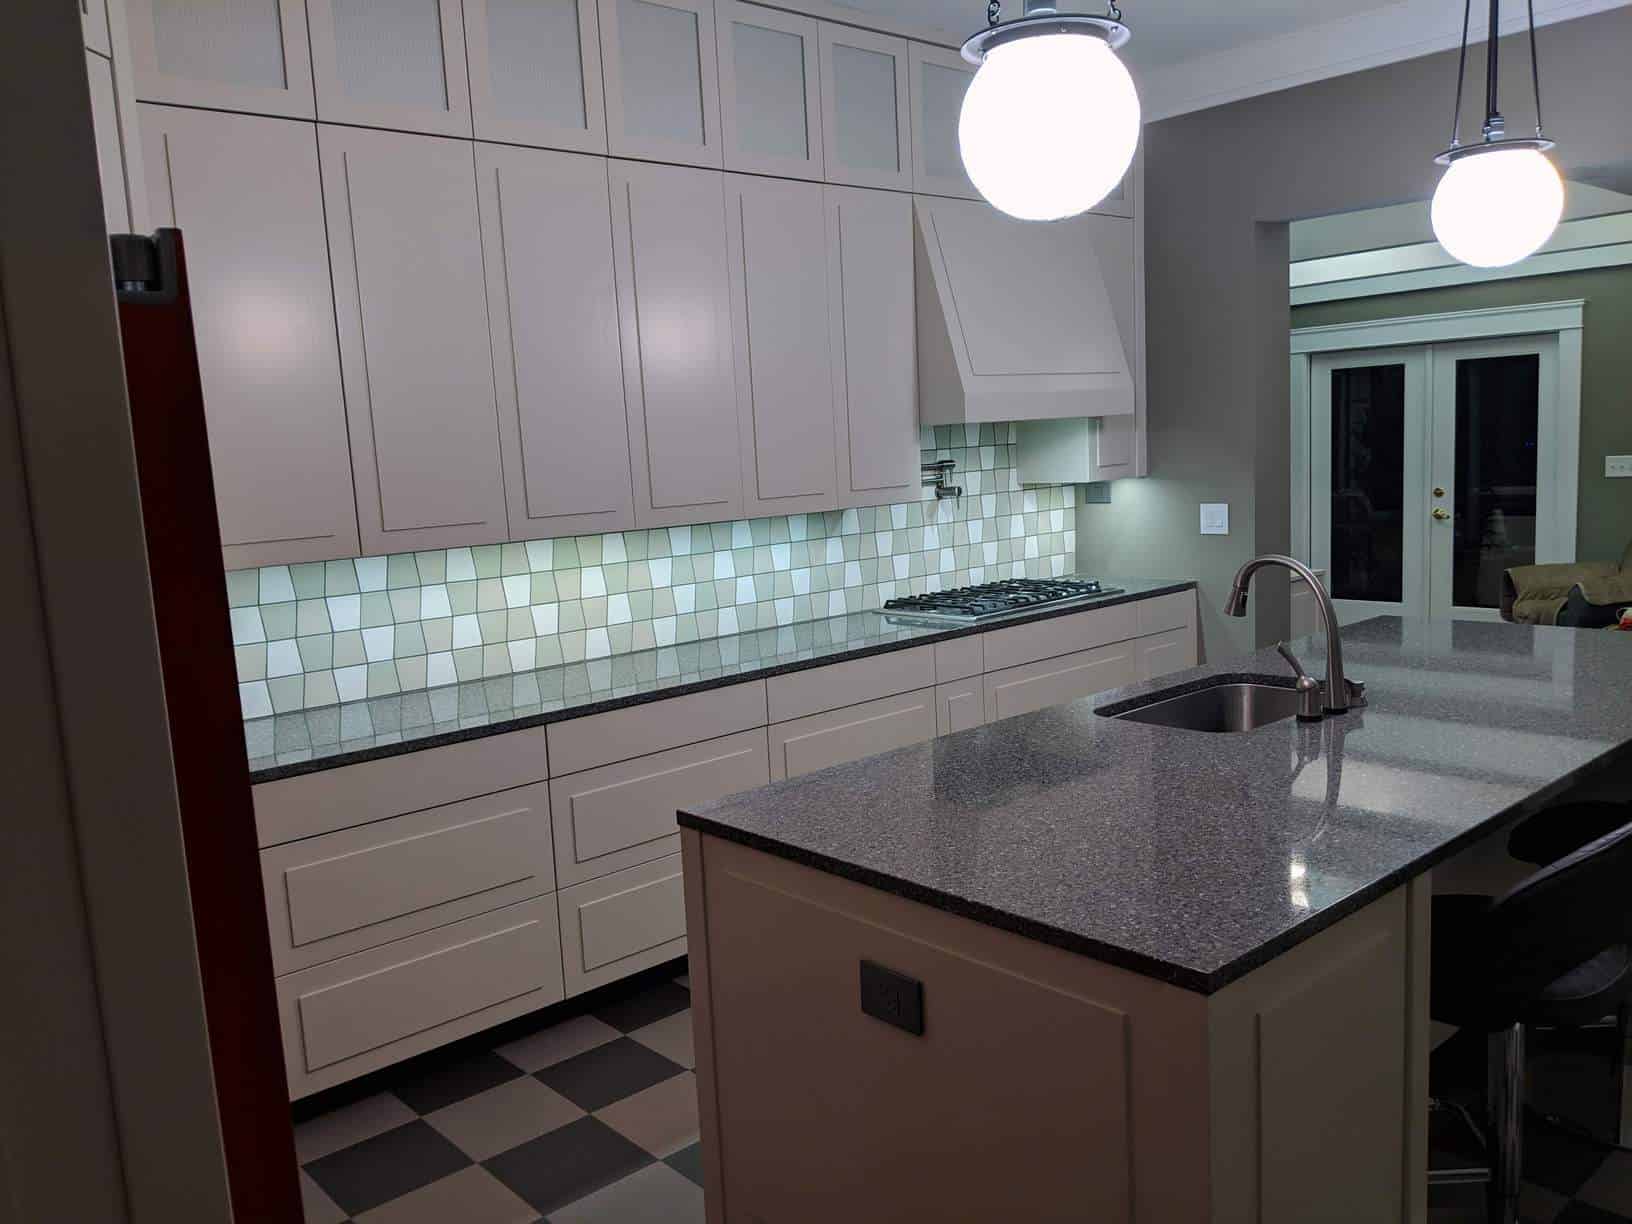
  • The cabinets are transitional, somewhere between modern and Art Deco style, painted with a color called Tapestry Beige. The material is routed MDF.
  • The countertops are quartz.
  • The idea of having some glass-front cabinet doors was appealing, but that limits what you can store in those cabinets if you want to keep the overall look of your kitchen aesthetically pleasing. To steer clear of that limitation, we went with ribbed glass and put a panel painted the same color as the cabinets behind the glass on the upper cabinets. 
  • The decision to use unusual/retro-style appliances was an important part of the design scheme. Viking offered a double oven in factory red  – one of the two ovens has a traditional pull-down door and the other is a French-door style. The placement of the ovens in the corner of the kitchen is a bit unusual, but it’s very effective.
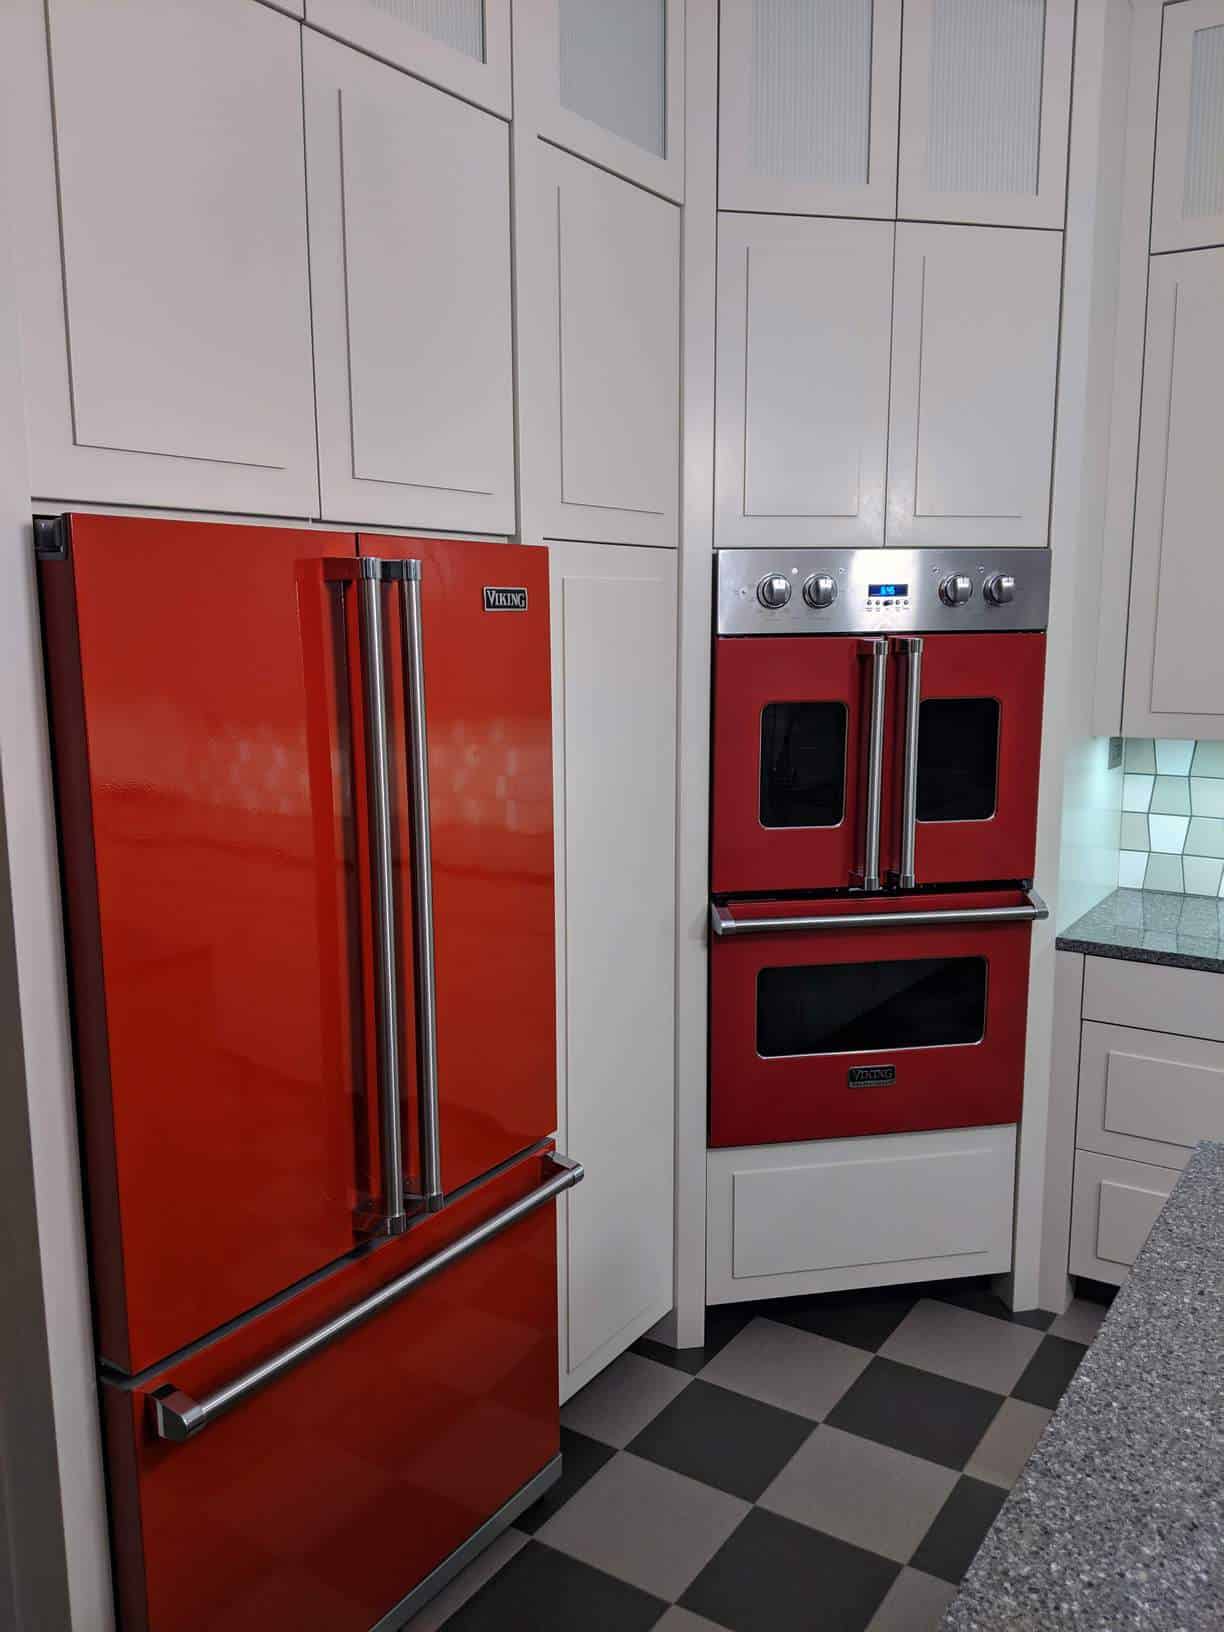
  • Unfortunately, we could not find a red retro refrigerator to match. Thanks to a brilliant suggestion from the staff at appliance dealer Howard Payne and Co., we found a stainless steel model and took it to an auto body shop where it was painted to match the ovens.
  • All appliances were made by Viking, with the exception of the wine fridge, which was made by Jenn-Air.
  • The Blum Servo Drive touch-to-open system (a last-minute addition to the budget that was well worth it) is a favorite feature. Only two things in the kitchen require opening: the dishwasher and the wine fridge. In addition to the convenience of the touch-to-open system, the lack of hardware also makes for clean lines.
  • The backsplash was created from made-to-order tiles in shades of brown, cream and pale green. 
  • The pendant lights came from Etsy. 
  • The flooring is porcelain tile.
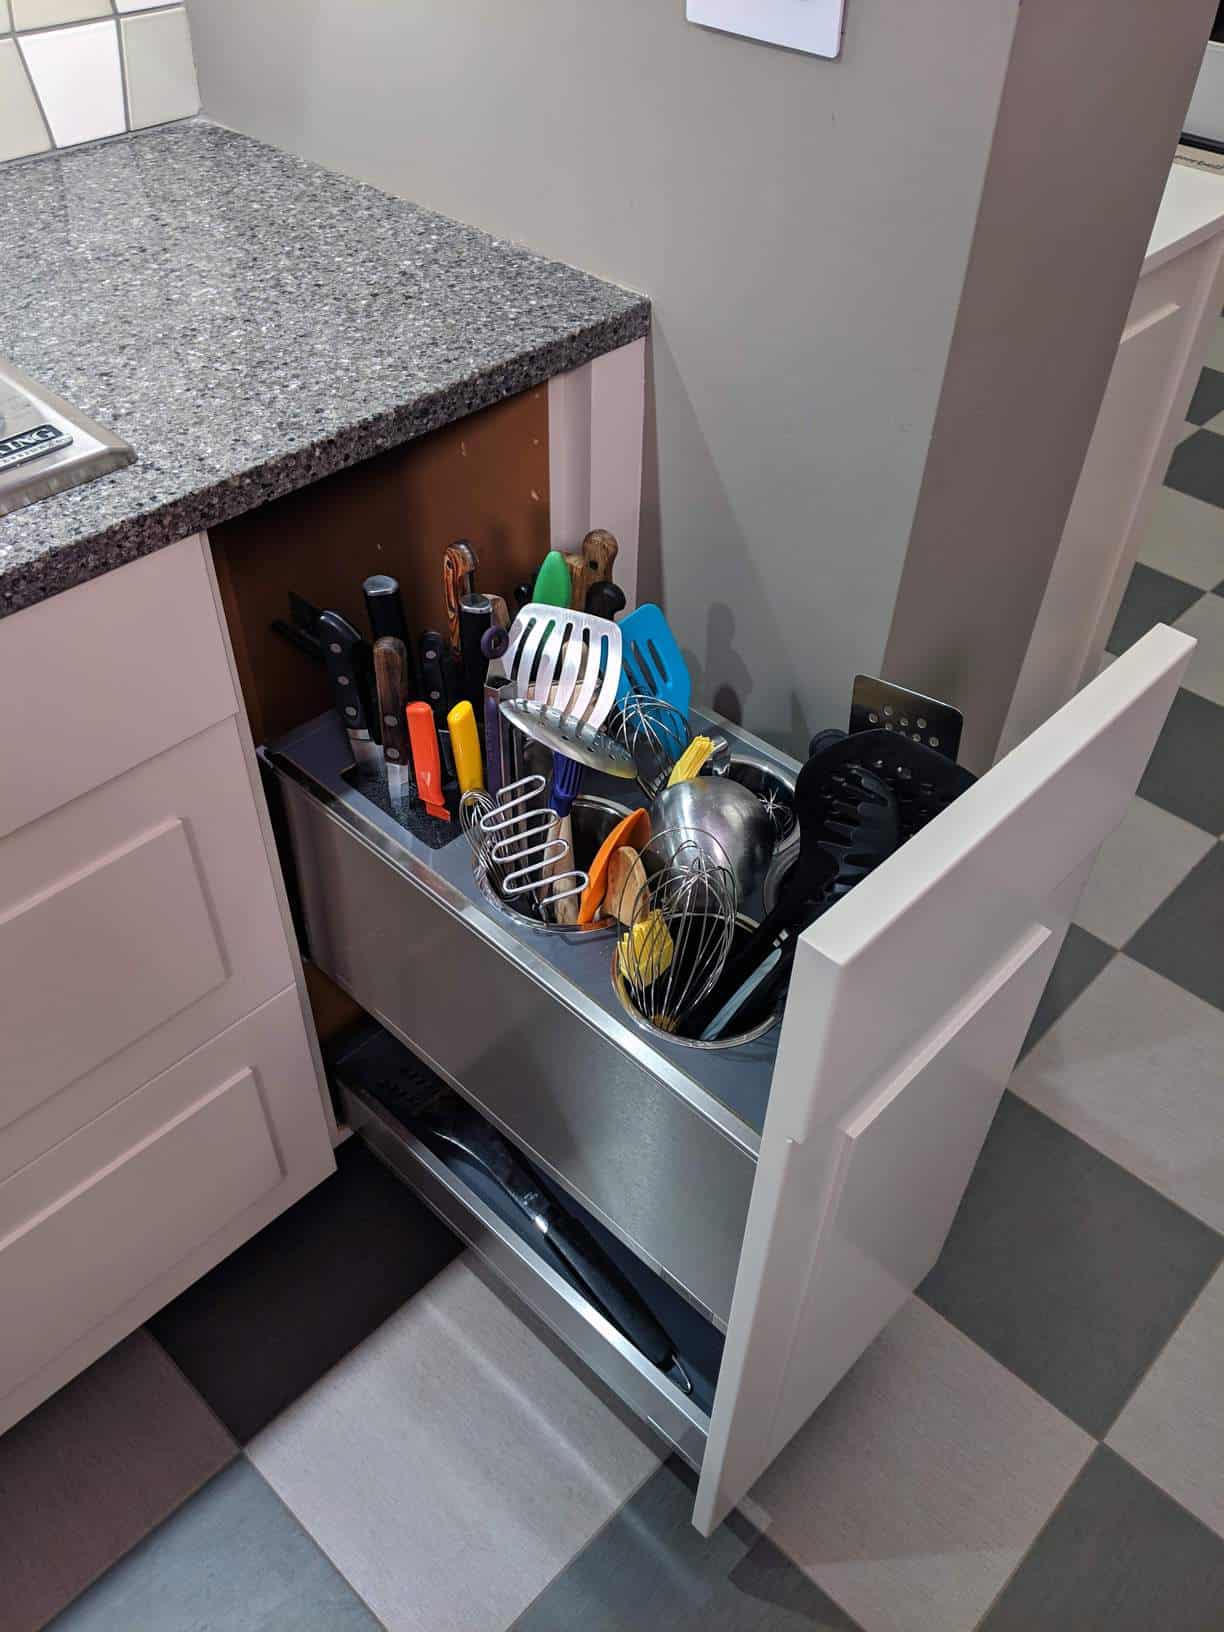
  • There are some other cool features scattered through the kitchen, including a roll-out pantry and a deep drawer with inserts to corral long-handled kitchen utensils.
  • Where a desk used to sit in the old kitchen, you’ll now find the wine fridge (the one with the “problem” door), a cabinet to hide the microwave, toaster and coffee maker, and big, deep drawers (liquor bottles are tall, after all).
  • A 27-inch iMac is mounted in the corner cabinet, which makes it easy to look up/display recipes or stream movies/TV while cooking.

The reno didn’t increase the square footage of the kitchen, but taking the cabinets all the way up to the ceiling added a lot more storage. The adjacent laundry room also got an update with a new stacking washer-dryer set and new flooring to match the kitchen. 

I also added a small, matching cabinet in the adjacent sitting room (which was converted from a sleeping porch during an earlier reno). This cabinet serves as a bar area and has extra storage. 

The bottom line

So was it worth it to bring my work home, so to speak, and slog through all of the disruptions and delays? 

Absolutely.

I spend my days giving my clients their dream kitchens, and it’s really satisfying to finally have a dream kitchen waiting at home.

~ Chris Dehmer

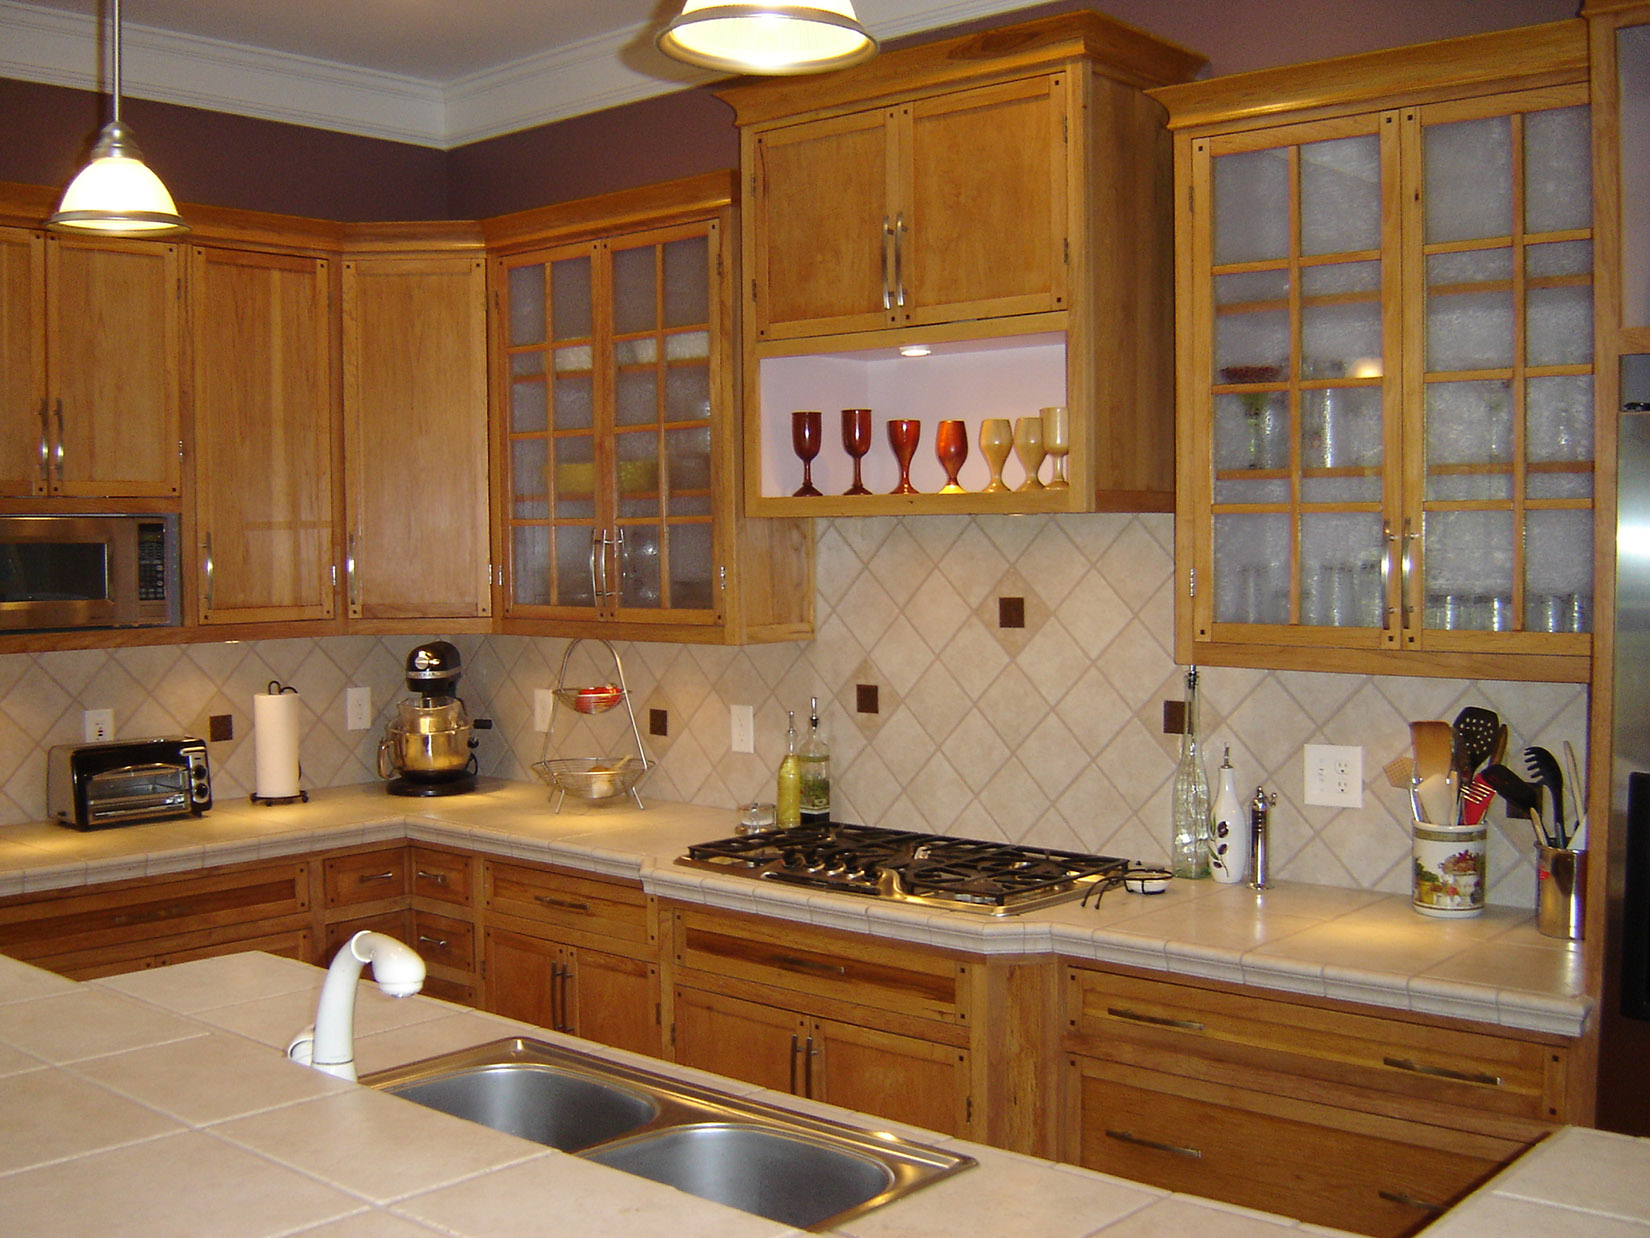
Postscript: Here’s a photo of the previous kitchen as a reminder of where we started. To see more “before” photos, read the first post in the series. 
A renovation tale, Part 2: Demo Day(s)

In Part 1 of this story, you heard about the lead-up to the kitchen reno I’ve been working on at home, and the ups and downs that come with being a professional cabinetmaker overhauling my own kitchen. 

After working on so many awesome kitchens for clients, I wanted to have an amazing kitchen at home, too. So my wife and I had to put ourselves in the shoes of clients and find our way to a design we could agree on. Once we got all of our ducks in a row, it was time for that made-oh-so-famous-by-HGTV step in the reno: Demo Day. 

Or, in my case, Demo Days. 

Because one of our dogs can’t stand loud noises, we had decided that I’d skip a vacation with extended family over Labor Day weekend last fall and take care of the demo while my wife and the dogs were away. 

I’d finished the new cabinets in August, and I was ready to get rolling. 

My own worst enemy  

The kitchen we’re replacing was a DIY project that I tackled before starting Dark Horse (you can find more details about that in Part 1). For an amateur job, it was fine and served us well for 15 years. All in all, I couldn’t complain about my first big kitchen project. 

But when I started in on the demo, I began to feel differently. 

I’m glad there were no TV crews on hand for the Dehmer Demo because it turned out to be a lot more complicated and frustrating than swinging a sledgehammer. I had some unprintable thoughts about the job that Amateur-DIY Chris did on installing that kitchen. 

It sucked. In a word, it was overbuilt. The fact that I built it in place meant that the entire kitchen was basically one big cabinet (the cabinet makers who are reading this will instantly understand the problem this creates for dismantling a kitchen). 

As I wrestled with those cabinets, I thought about how we do things at Dark Horse now and cursed my overzealous ways. In spots where one screw would have been fine, I had used five. It was mind-boggling. 

20171020_153645

In this photo (taken as installation of the new cabinets got under way), you can see a piece of an original wall cabinet that was particularly stubborn.

In the end, I had to cut the cabinets off the wall, and demo took every bit of the two and a half days I had. In addition to the hard physical labor it required to get the cabinets out, demo-ing the floors turned out to be labor-intensive, too – pulling up each board and getting the nails out was no fun. 

All that is to say: While I understand that smashing up a house pre-reno makes for great TV, it’s really not much fun, especially when you find yourself doing battle with the younger, less savvy, more meticulous version of yourself. 

And then there was none

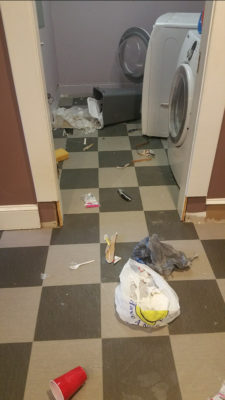
Anyone who’s gone through a kitchen reno is familiar with the work-arounds you have to resort to in the post-demo phase, and we used them all – eating out, ordering take-out, making good use of our grill and (of course) washing dishes in the bathroom sink.

when the dog gets into take out trash

When your renovation work-around strategy consists of eating a lot of take-out meals, we recommend dog-proofing your trash can … just saying.

Meanwhile, we were dealing with all of the bumps in the road that come with actually installing the new kitchen … delays, last-minute changes, trying to get on the same page about all of the big and little decisions you’re faced with in real time. (Didn’t we make all these decisions during the design and planning phase?? you both think every single day.)

Even someone who does this for a living can’t sidestep issues cropping up unexpectedly, not to mention those moments of decision paralysis (for us, it was the paint color for the walls) or last-minute inspiration. 

My 11th-hour decision to use Blum Servo Drive to open all the drawers required a fair amount of work that would have been much easier if planned for up front. (Servo Drive is an “electric motion support system” that allows you to open and close drawers just by tapping them.)  

Once the floors were finally finished, it was a bit of a free-for-all for awhile, and then we got back to following the usual rules of a kitchen installation. 

Cabinets went in, followed by counter tops. Once the counters were in, appliances were installed, plumbing was hooked up and the final electrical work was done. All of that happened in about three days once the tops were in. 

Then it became a matter of tying up loose ends: Moving some lighting, building and installing one last cabinet once the rest were installed and a little trim work. (Some of these loose ends are still loose!) We also had to complete some other reno tasks in the laundry room and sunroom – these spaces became part of the kitchen reno only because the flooring needed to be extended into those rooms so it would all match.

Light at the end of the tunnel

In the final post, I’ll show you the finished kitchen and tell you more about what went into it (literally) – cabinets, appliances, floors, backsplash, hardware, etc.

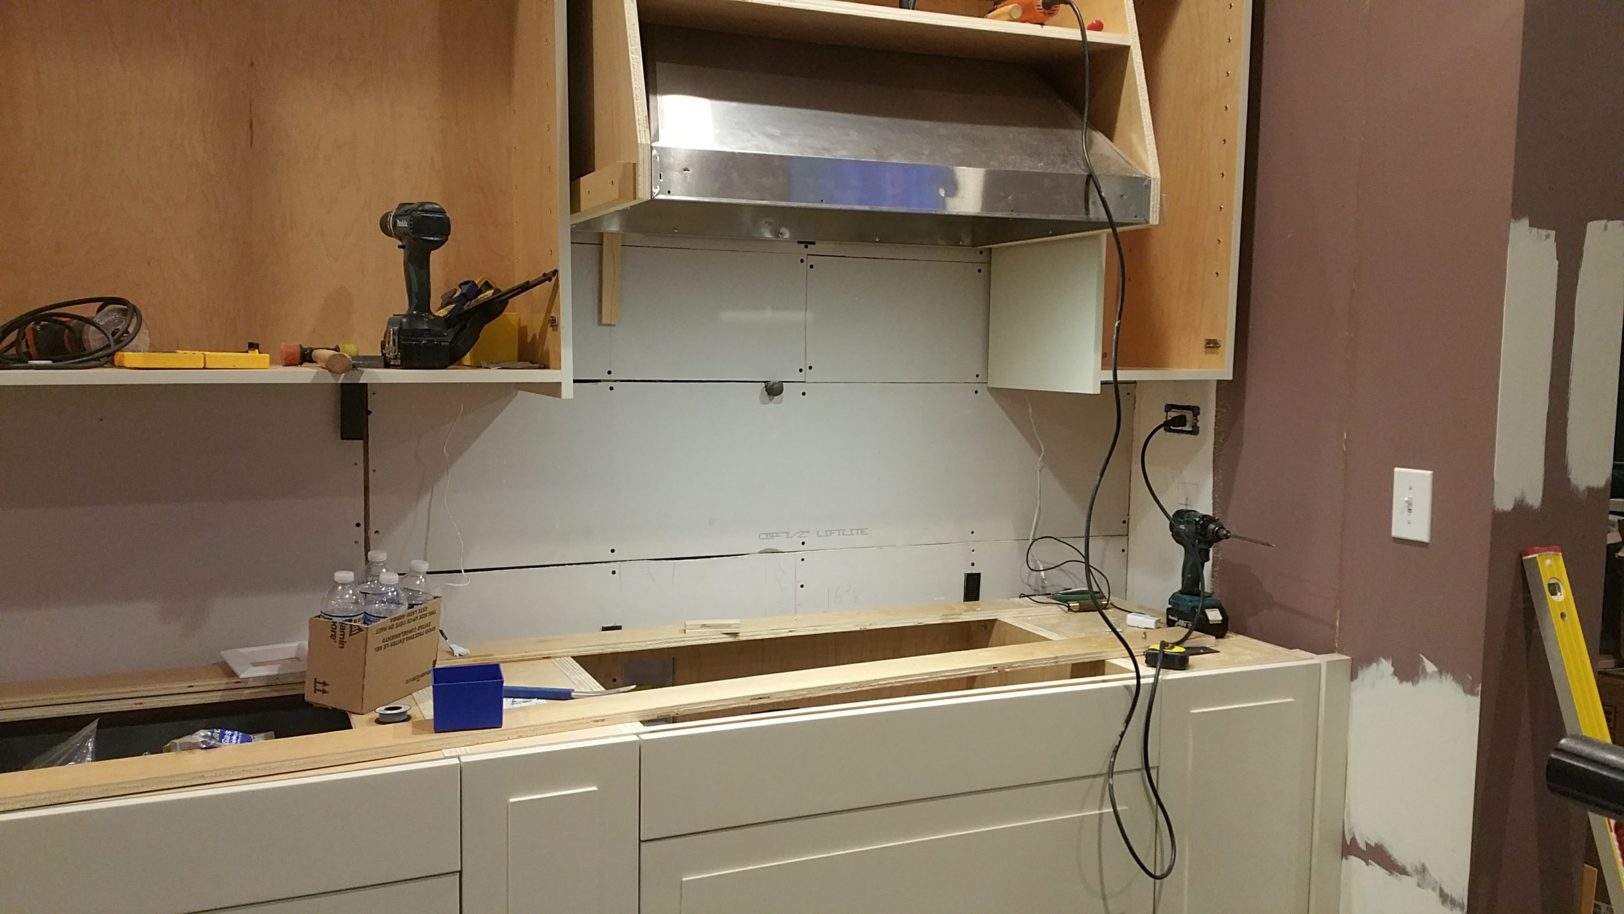
20171028_184950

Early days of installing the new cabinets

To close out this post about the messiest part of the project, I’ll leave you with this bit of perspective/advice about creating or renovating a kitchen: Just go for it. Get what you want. 

20171021_192020

For our reno story, the Blum Servo Drive system was the major “go for it” feature. We had talked over and over again about how much we’d love to have it in our kitchen, but we always ruled it out because of cost (about $2,600). At some point during our reno, I was talking to a client and making my usual soapbox speech about all the reasons not to skimp, and I realized I was ignoring my own advice.

While I understand that budgets matter, I recommend that you think about the big picture. The kitchen is the most-used room in your house: Don’t compromise.

Postscript: We love our touch-to-open drawers and doors, and we have no regrets about adding them to our budget.

~ Chris Dehmer

You really do get what you pay for

I recently had the eye-opening experience of seeing some high-end homes that had surprisingly low-end cabinetry. While many of the cabinets looked nice when you glanced at them with the doors shut, you only had to inspect them a bit more closely to figure out that the materials and construction were not exactly top-of-the-line.

Frankly, it was a shocker.

How did such shoddy work end up in such exclusive, expensive projects?

When you’re in a craft profession, this kind of thing can be frustrating.

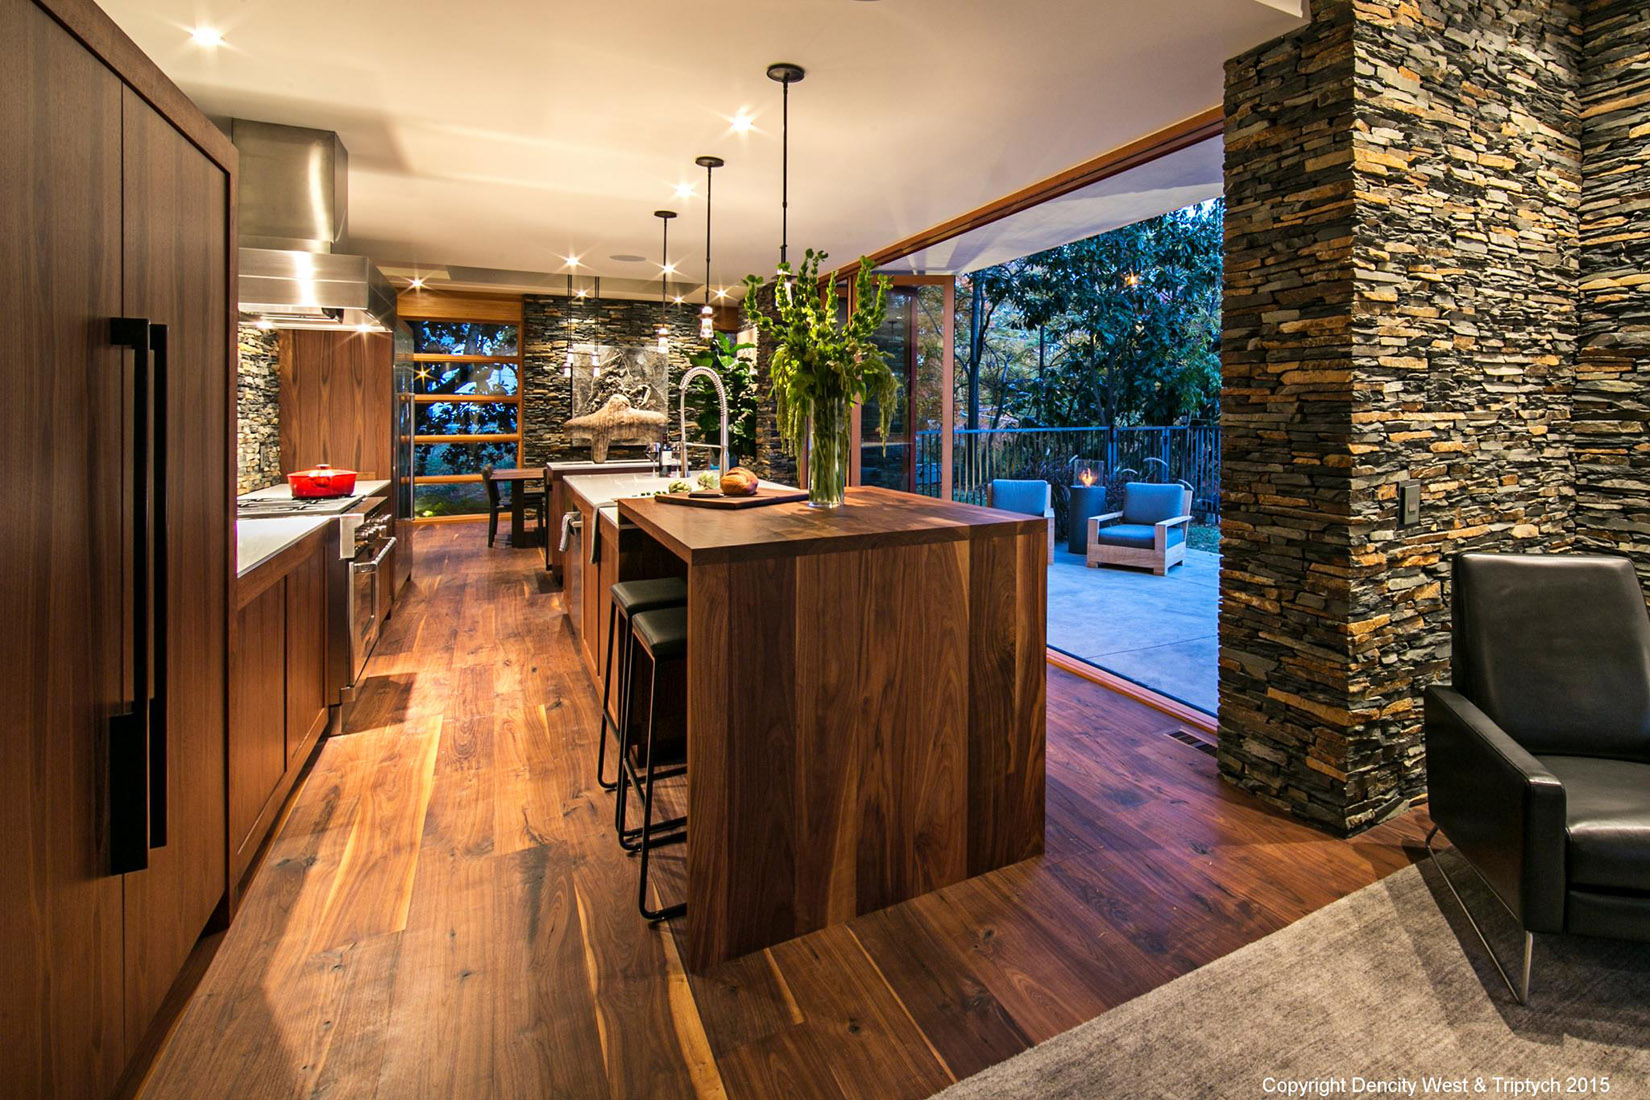
Walnut house kitchen for quality blog

We’re grateful to have gained the trust of clients who have hired us to create their dream kitchens and other projects; this is the project we call “The Walnut House.”

Knowledge matters

Coming across this less-than-impressive work in otherwise well-crafted, big-budget homes made me stop and think about how these decisions are made.

Do the homeowners just not worry about the details that make the difference between a high-quality project and a shoddy one? Or do they not know? 

For those who are considering a remodel or new construction, I thought I’d pass along some insider perspective based on the Dark Horse approach to custom cabinetry.

First, it’s my experience that while clients know the big picture of what they want (style, color, etc.), they almost never tell you what they want when it comes to materials and construction.

For that reason (and many more), we have a spec sheet that we share with potential clients that outlines the type of materials we use. We’re careful to say, “This is what you’re getting.”

Our specs are identical 99 percent of the time; we never approach a potential job with the idea that we’ll customize our specs and use lower-quality, cheaper materials in order to give Dark Horse a better chance of winning a bid.

We’ve built our reputation on executing client projects the best way we know how, and in addition to the level of craftsmanship we offer, we make a point of seeking out the best products and materials available.

Here are a few examples:

  • Every cabinet box we build is two-sided, pre-finished and US-sourced.Why US-sourced? Once, we tried cheaper Chinese import plywood for some shop projects; when we cut the material, it smelled funny, and the sawdust from the cut was blue. Consistency in thickness is more critical than ever since we incorporated a CNC into our production – we have to tell the machine how thick the material is so that the joints come out tight. Domestic plywood tends to be much flatter – I’m not sure why this is but my guess is that it has something to do with the imported plywood sitting on a ship during transport.

    To give you an idea of the difference in materials, the domestic plywood we use costs $65-70 a sheet; some companies use particleboard that costs $18 per sheet (similar to what you see in IKEA furniture).

  • We don’t use prefab drawers, and that makes a huge difference in both looks and function.
  • We also use Zero Edge banding on our cabinetry, which is more heat- and moisture-resistant than typical edge treatments. But that advantage comes at a price – 80 cents per foot instead of 2 cents per foot for traditional hot glue edge-banding.
  • We use soft-close doors, slides, etc. – in short, the best hardware we can buy. It costs a little more, but it’s worth it. (There’s a lot of cheap, shoddy hardware out there.)


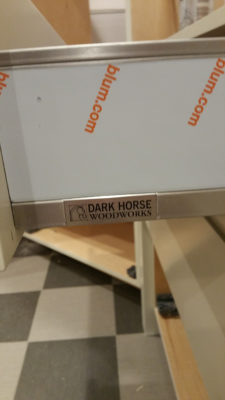
drawer-box.jpg

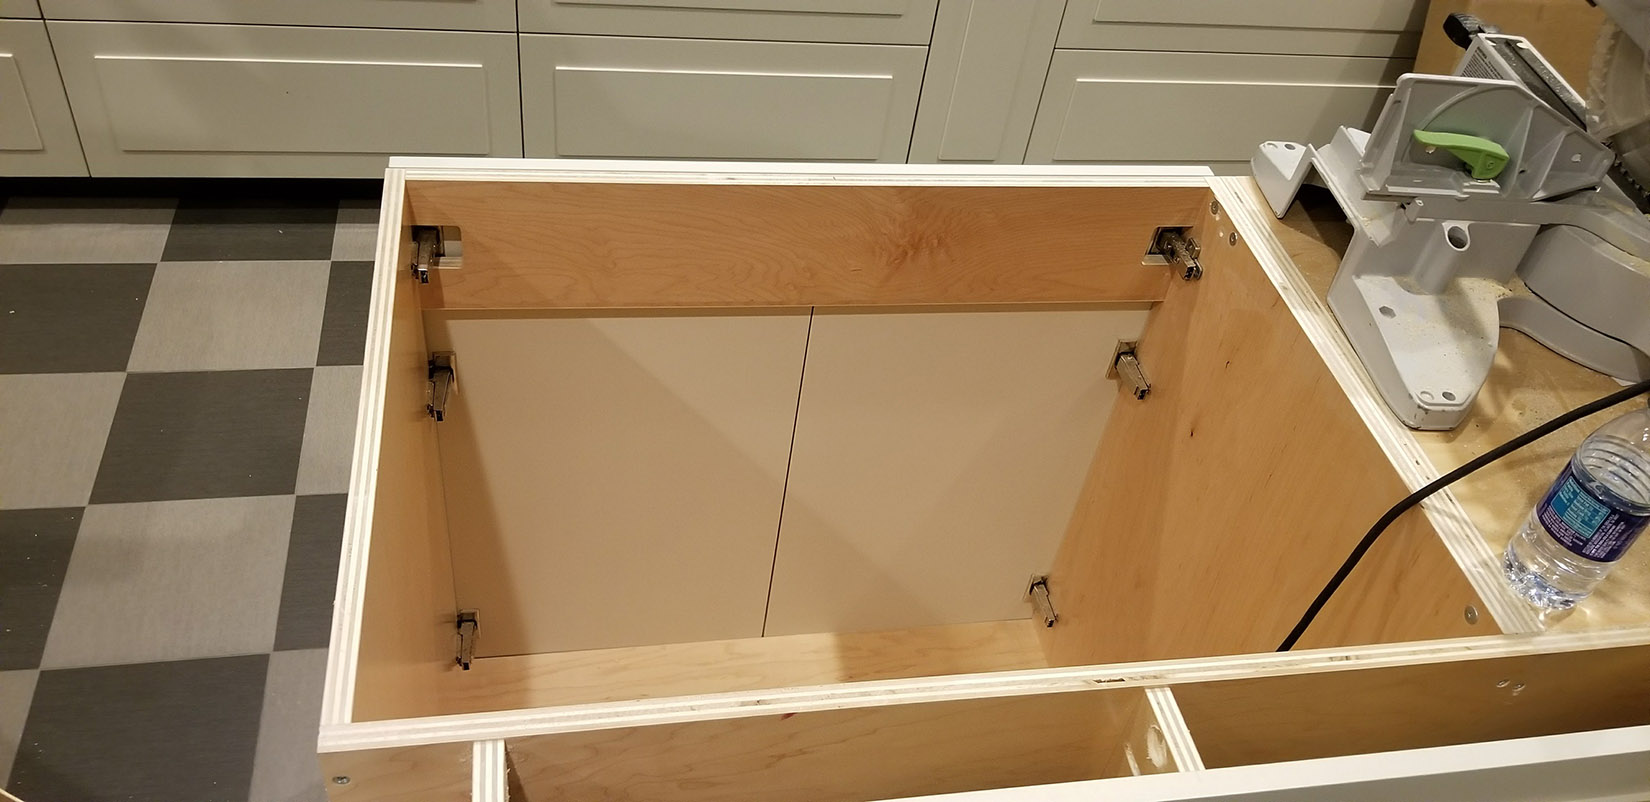
Here’s an in-process photo showing the kind of 3/4-inch prefinished plywood cabinet box construction that goes into all of our projects; this happens to be my own kitchen, which my wife and I decided to renovate last year. (There’s no top because this is a sink cabinet.)


What’s the lesson you can take away from this insider view?

You get what you pay for.

A company with a solid reputation and happy customers obviously excels at the craft of cabinet-making, but that company also begins with high-quality materials, and those materials cost more. (I have yet to find a magical source of stellar materials at bargain basement prices, but if you have any leads, I’d love to hear about them.)

Our Golden Rule

Some companies have the advantage of a showroom where clients can see examples of their work; that would be a great way to show our clients what quality materials and craftsmanship look like, but a showroom is not an option for Dark Horse.

So instead, we just try to emphasize to clients what we choose to use in our work and why we choose it.

And the “why” is simple – it’s the way I would want it done in my house. If I wouldn’t put it in mine, I won’t put it in yours.

~ Chris Dehmer