
In Part 1 of this story, you heard about the lead-up to the kitchen reno I’ve been working on at home, and the ups and downs that come with being a professional cabinetmaker overhauling my own kitchen.
After working on so many awesome kitchens for clients, I wanted to have an amazing kitchen at home, too. So my wife and I had to put ourselves in the shoes of clients and find our way to a design we could agree on. Once we got all of our ducks in a row, it was time for that made-oh-so-famous-by-HGTV step in the reno: Demo Day.
Or, in my case, Demo Days.
Because one of our dogs can’t stand loud noises, we had decided that I’d skip a vacation with extended family over Labor Day weekend last fall and take care of the demo while my wife and the dogs were away.
I’d finished the new cabinets in August, and I was ready to get rolling.
My own worst enemy
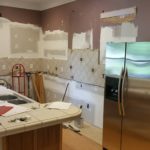
The kitchen we’re replacing was a DIY project that I tackled before starting Dark Horse (you can find more details about that in Part 1). For an amateur job, it was fine and served us well for 15 years. All in all, I couldn’t complain about my first big kitchen project.
But when I started in on the demo, I began to feel differently.
I’m glad there were no TV crews on hand for the Dehmer Demo because it turned out to be a lot more complicated and frustrating than swinging a sledgehammer. I had some unprintable thoughts about the job that Amateur-DIY Chris did on installing that kitchen.
It sucked. In a word, it was overbuilt. The fact that I built it in place meant that the entire kitchen was basically one big cabinet (the cabinet makers who are reading this will instantly understand the problem this creates for dismantling a kitchen).
As I wrestled with those cabinets, I thought about how we do things at Dark Horse now and cursed my overzealous ways. In spots where one screw would have been fine, I had used five. It was mind-boggling.

In this photo (taken as installation of the new cabinets got under way), you can see a piece of an original wall cabinet that was particularly stubborn.
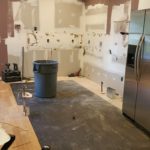
In the end, I had to cut the cabinets off the wall, and demo took every bit of the two and a half days I had. In addition to the hard physical labor it required to get the cabinets out, demo-ing the floors turned out to be labor-intensive, too – pulling up each board and getting the nails out was no fun.
All that is to say: While I understand that smashing up a house pre-reno makes for great TV, it’s really not much fun, especially when you find yourself doing battle with the younger, less savvy, more meticulous version of yourself.
And then there was none
Anyone who’s gone through a kitchen reno is familiar with the work-arounds you have to resort to in the post-demo phase, and we used them all – eating out, ordering take-out, making good use of our grill and (of course) washing dishes in the bathroom sink.

When your renovation work-around strategy consists of eating a lot of take-out meals, we recommend dog-proofing your trash can … just saying.
Meanwhile, we were dealing with all of the bumps in the road that come with actually installing the new kitchen … delays, last-minute changes, trying to get on the same page about all of the big and little decisions you’re faced with in real time. (Didn’t we make all these decisions during the design and planning phase?? you both think every single day.)
Even someone who does this for a living can’t sidestep issues cropping up unexpectedly, not to mention those moments of decision paralysis (for us, it was the paint color for the walls) or last-minute inspiration.
My 11th-hour decision to use Blum Servo Drive to open all the drawers required a fair amount of work that would have been much easier if planned for up front. (Servo Drive is an “electric motion support system” that allows you to open and close drawers just by tapping them.)
Once the floors were finally finished, it was a bit of a free-for-all for awhile, and then we got back to following the usual rules of a kitchen installation.
Cabinets went in, followed by counter tops. Once the counters were in, appliances were installed, plumbing was hooked up and the final electrical work was done. All of that happened in about three days once the tops were in.
Then it became a matter of tying up loose ends: Moving some lighting, building and installing one last cabinet once the rest were installed and a little trim work. (Some of these loose ends are still loose!) We also had to complete some other reno tasks in the laundry room and sunroom – these spaces became part of the kitchen reno only because the flooring needed to be extended into those rooms so it would all match.
Light at the end of the tunnel
In the final post, I’ll show you the finished kitchen and tell you more about what went into it (literally) – cabinets, appliances, floors, backsplash, hardware, etc.
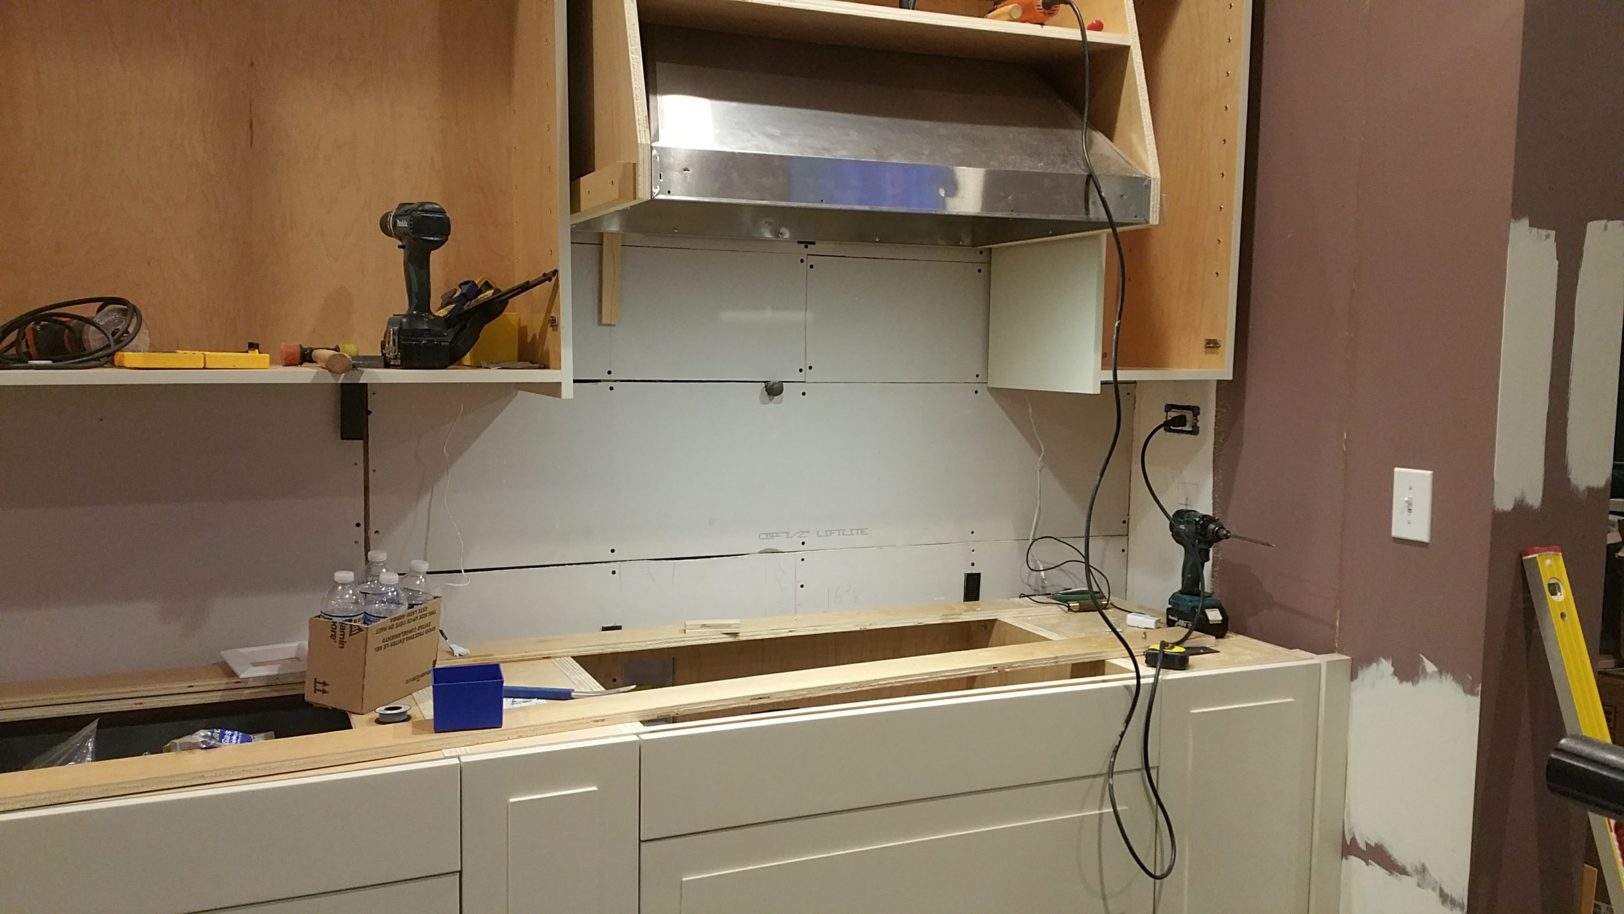
Early days of installing the new cabinets
To close out this post about the messiest part of the project, I’ll leave you with this bit of perspective/advice about creating or renovating a kitchen: Just go for it. Get what you want.
For our reno story, the Blum Servo Drive system was the major “go for it” feature. We had talked over and over again about how much we’d love to have it in our kitchen, but we always ruled it out because of cost (about $2,600). At some point during our reno, I was talking to a client and making my usual soapbox speech about all the reasons not to skimp, and I realized I was ignoring my own advice.
While I understand that budgets matter, I recommend that you think about the big picture. The kitchen is the most-used room in your house: Don’t compromise.
Postscript: We love our touch-to-open drawers and doors, and we have no regrets about adding them to our budget.
~ Chris Dehmer