You really do get what you pay for

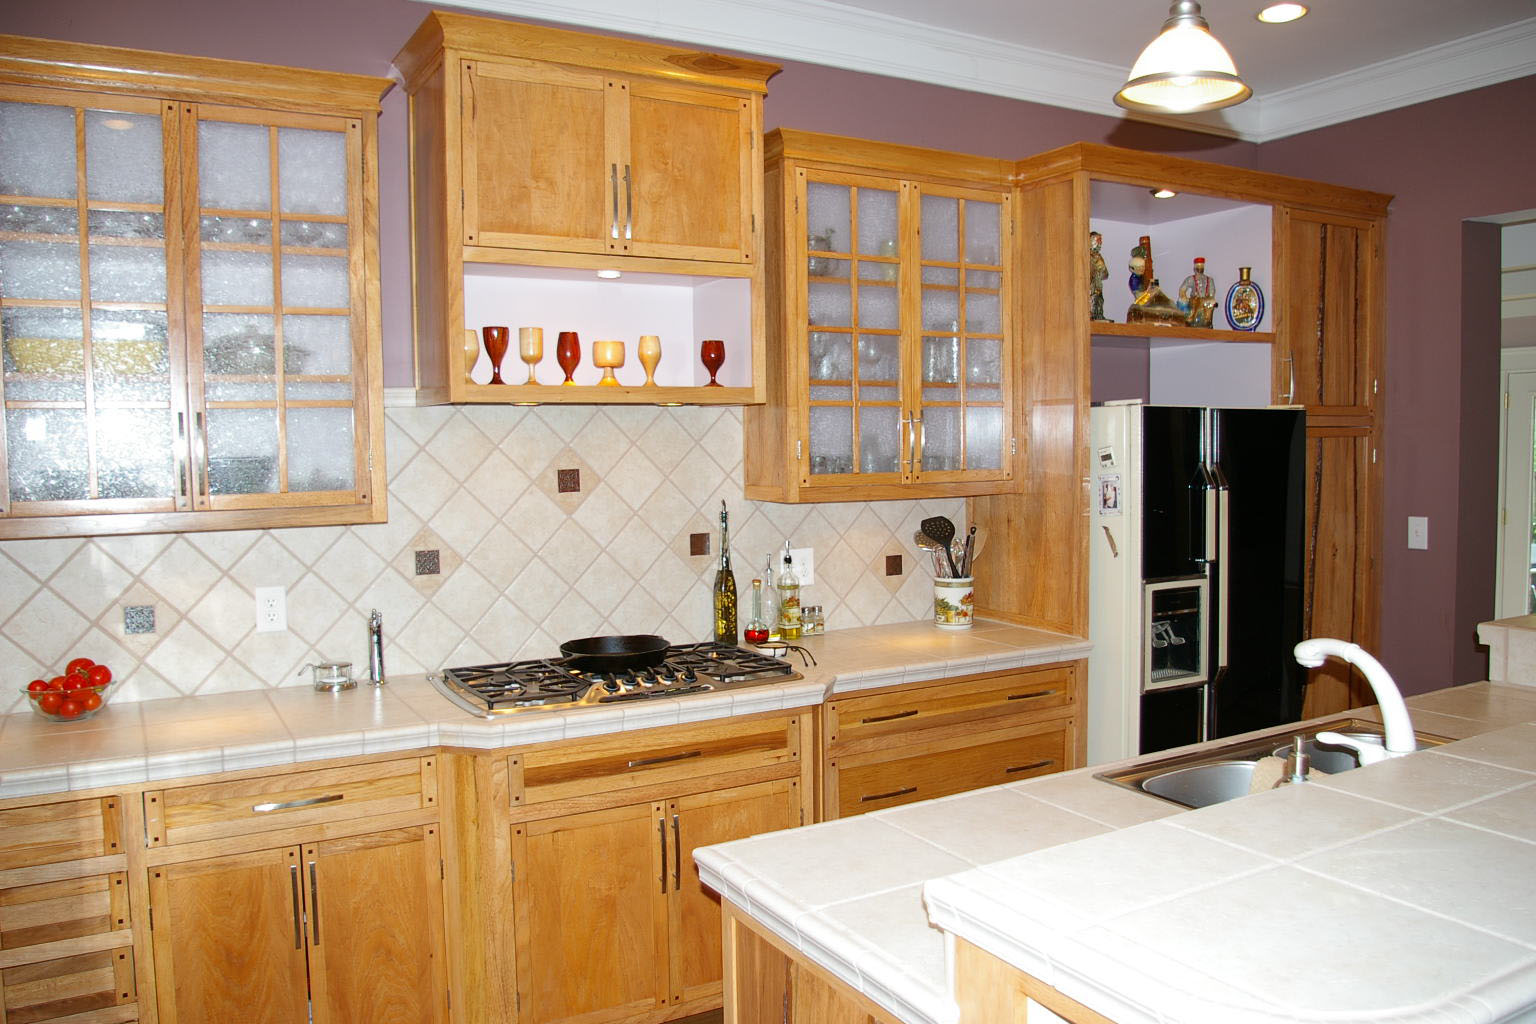
I recently had the eye-opening experience of seeing some high-end homes that had surprisingly low-end cabinetry. While many of the cabinets looked nice when you glanced at them with the doors shut, you only had to inspect them a bit more closely to figure out that the materials and construction were not exactly top-of-the-line.

Frankly, it was a shocker.

How did such shoddy work end up in such exclusive, expensive projects?

When you’re in a craft profession, this kind of thing can be frustrating.

Walnut house kitchen for quality blog

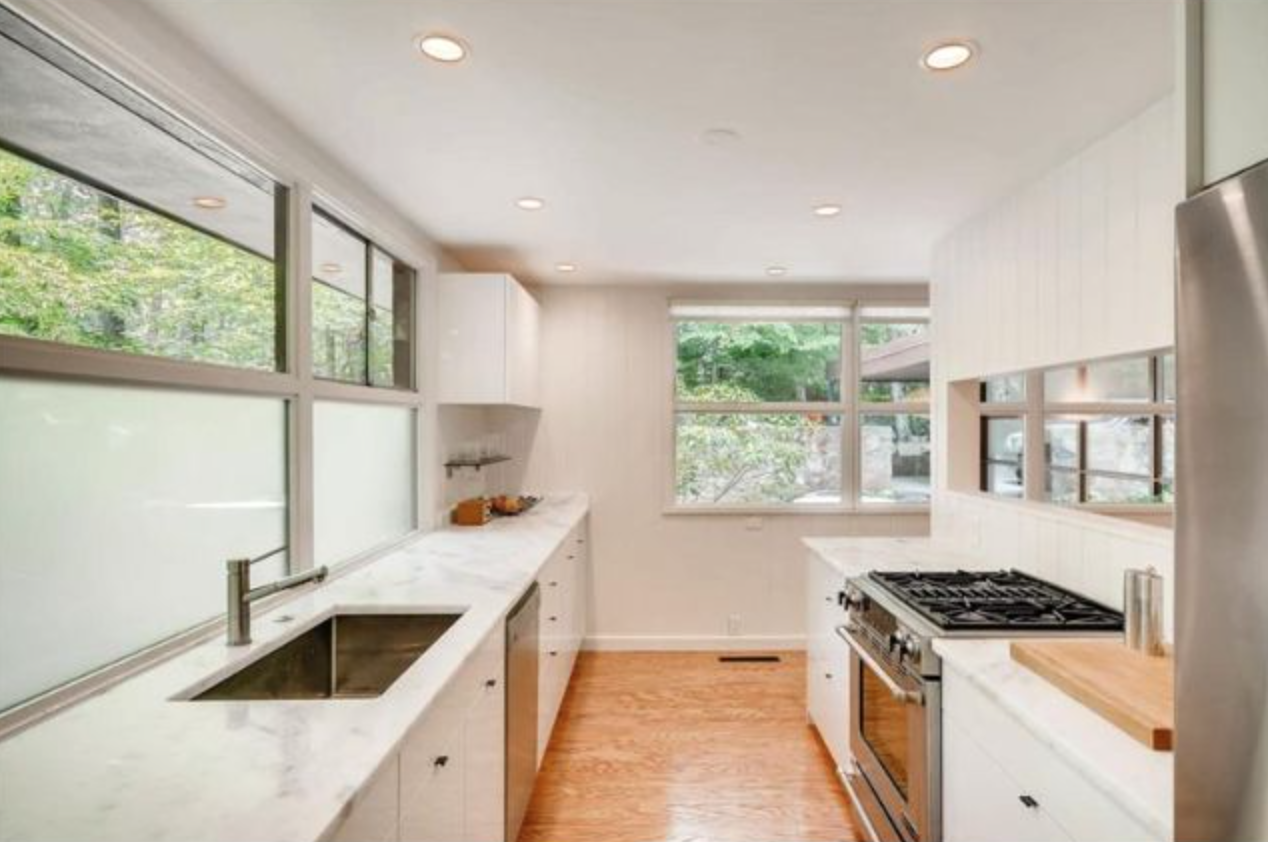
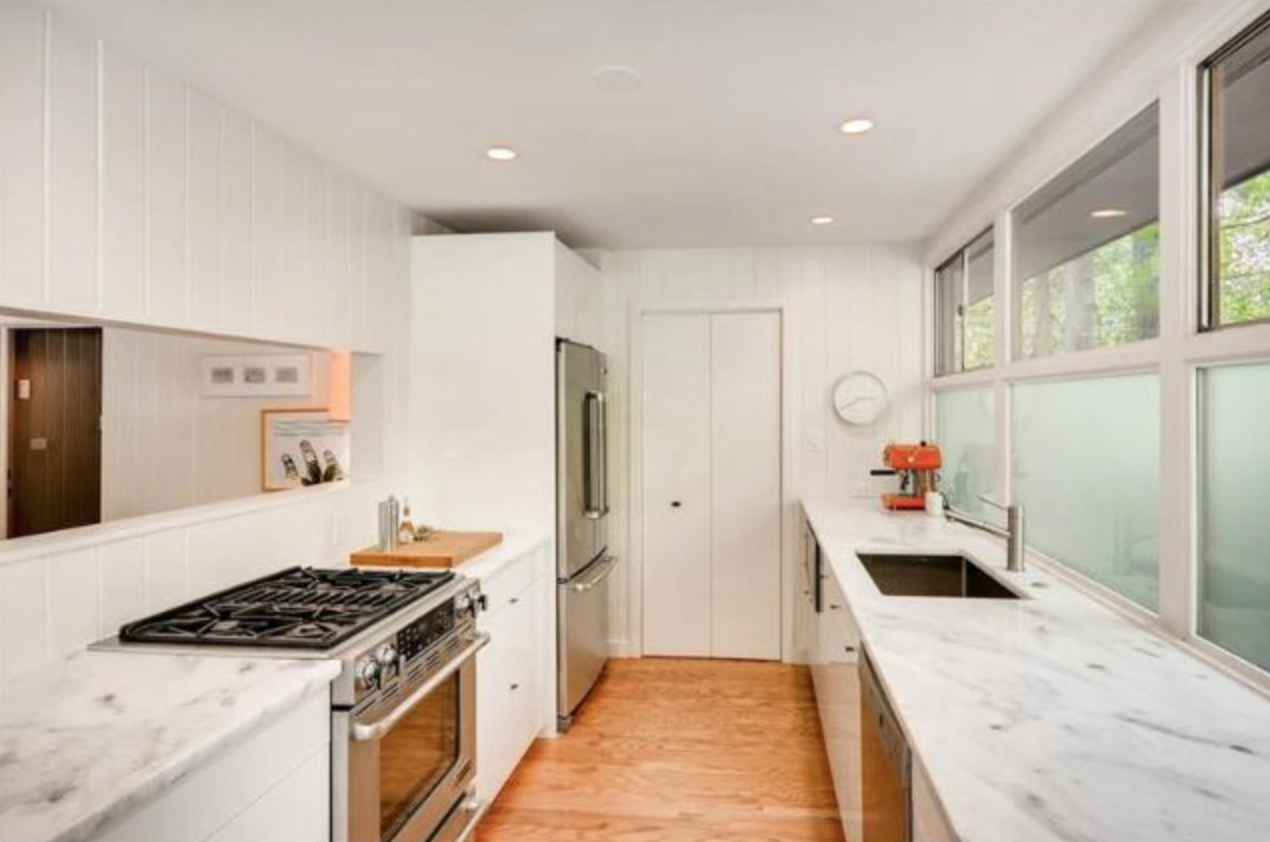
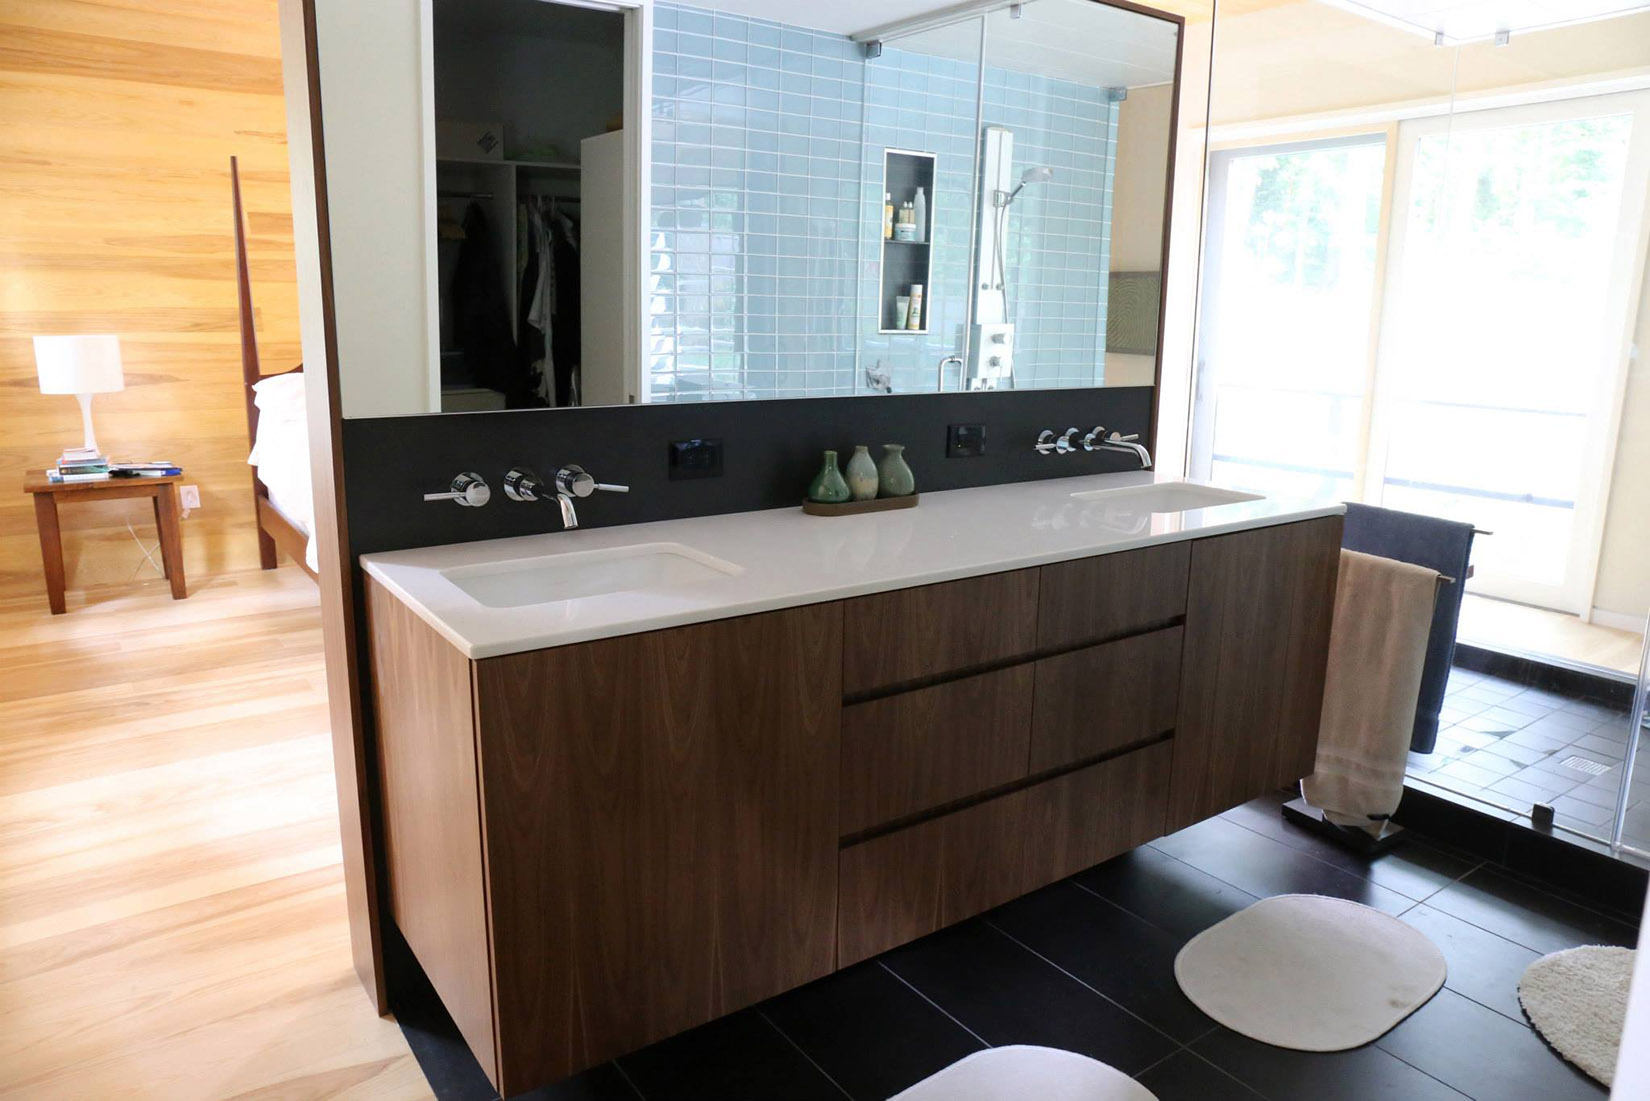
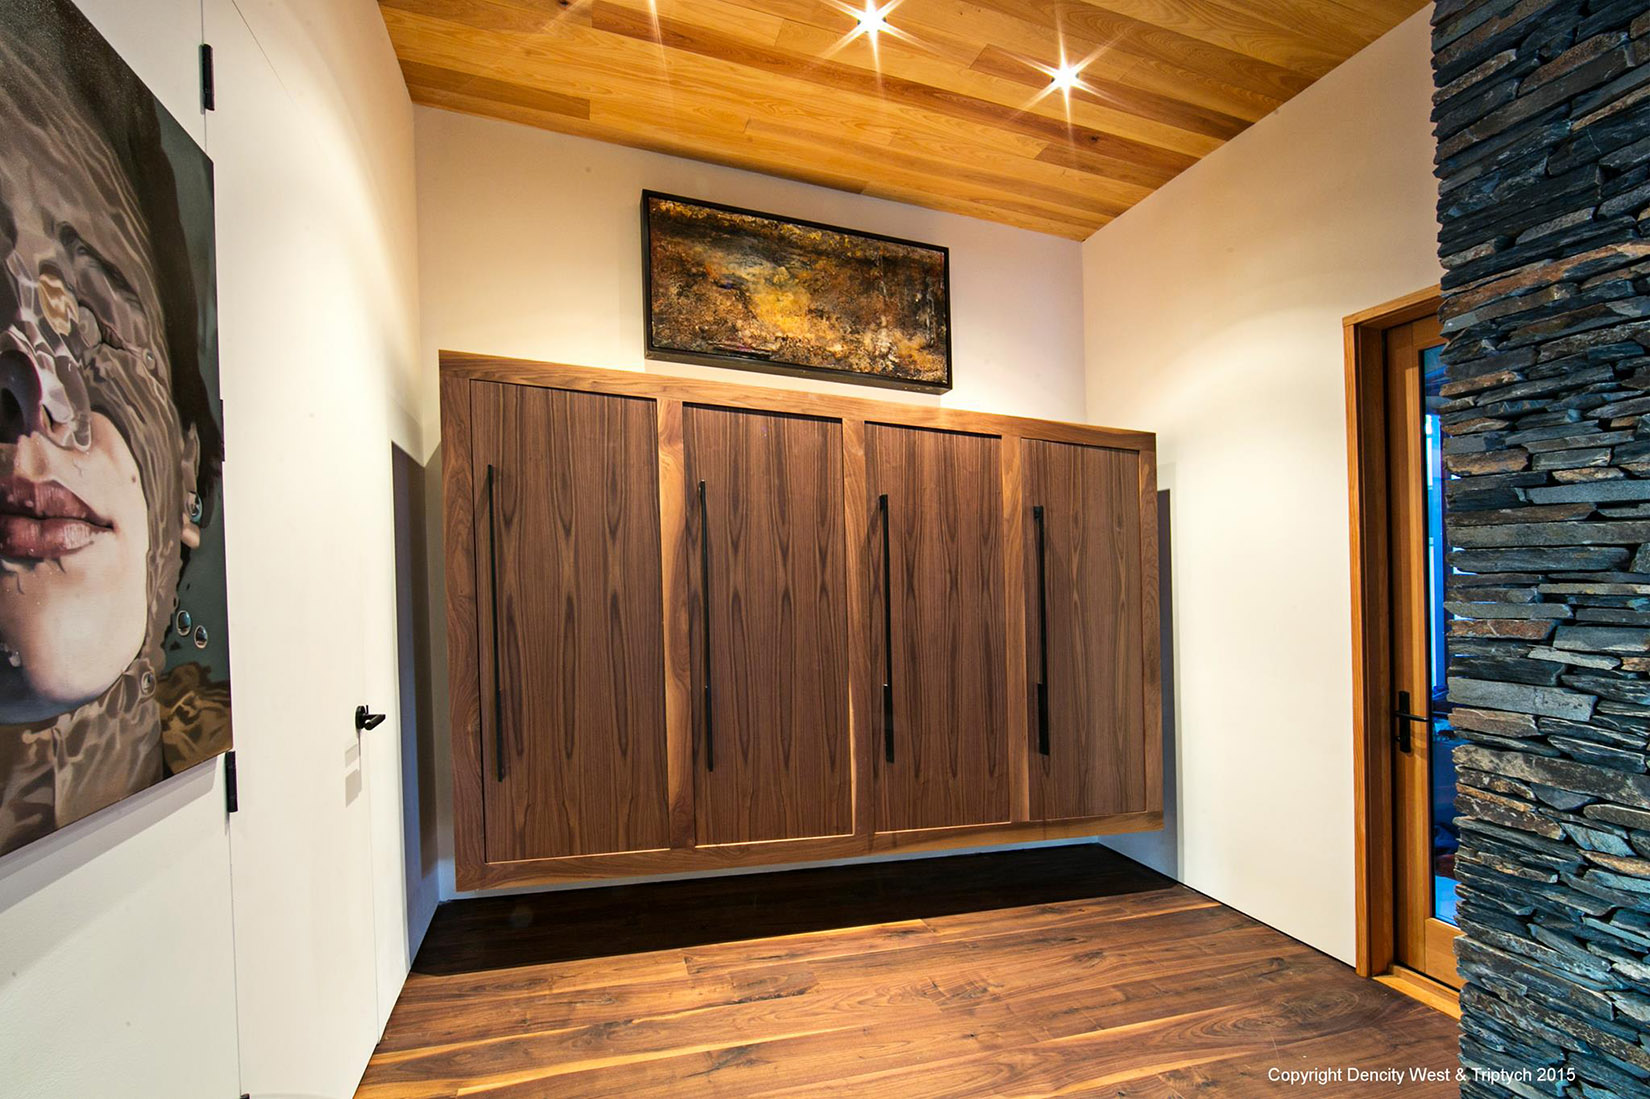
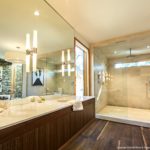
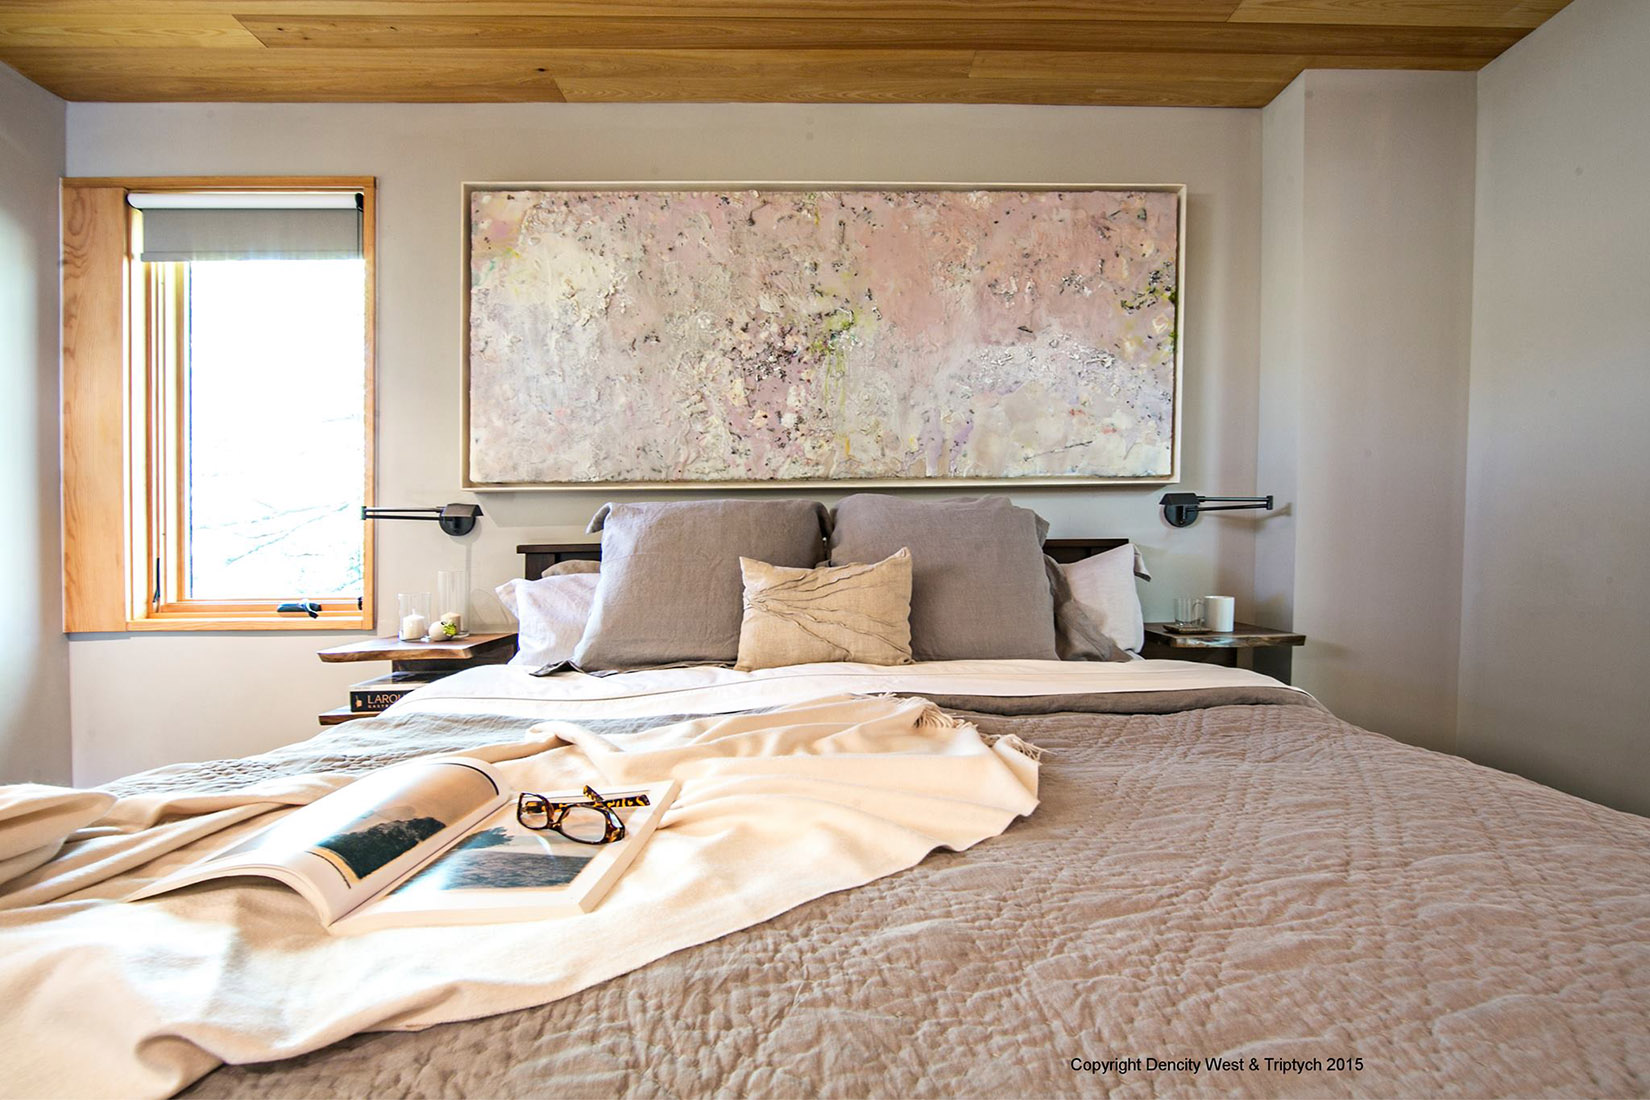
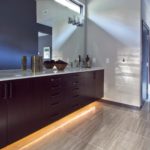
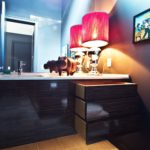
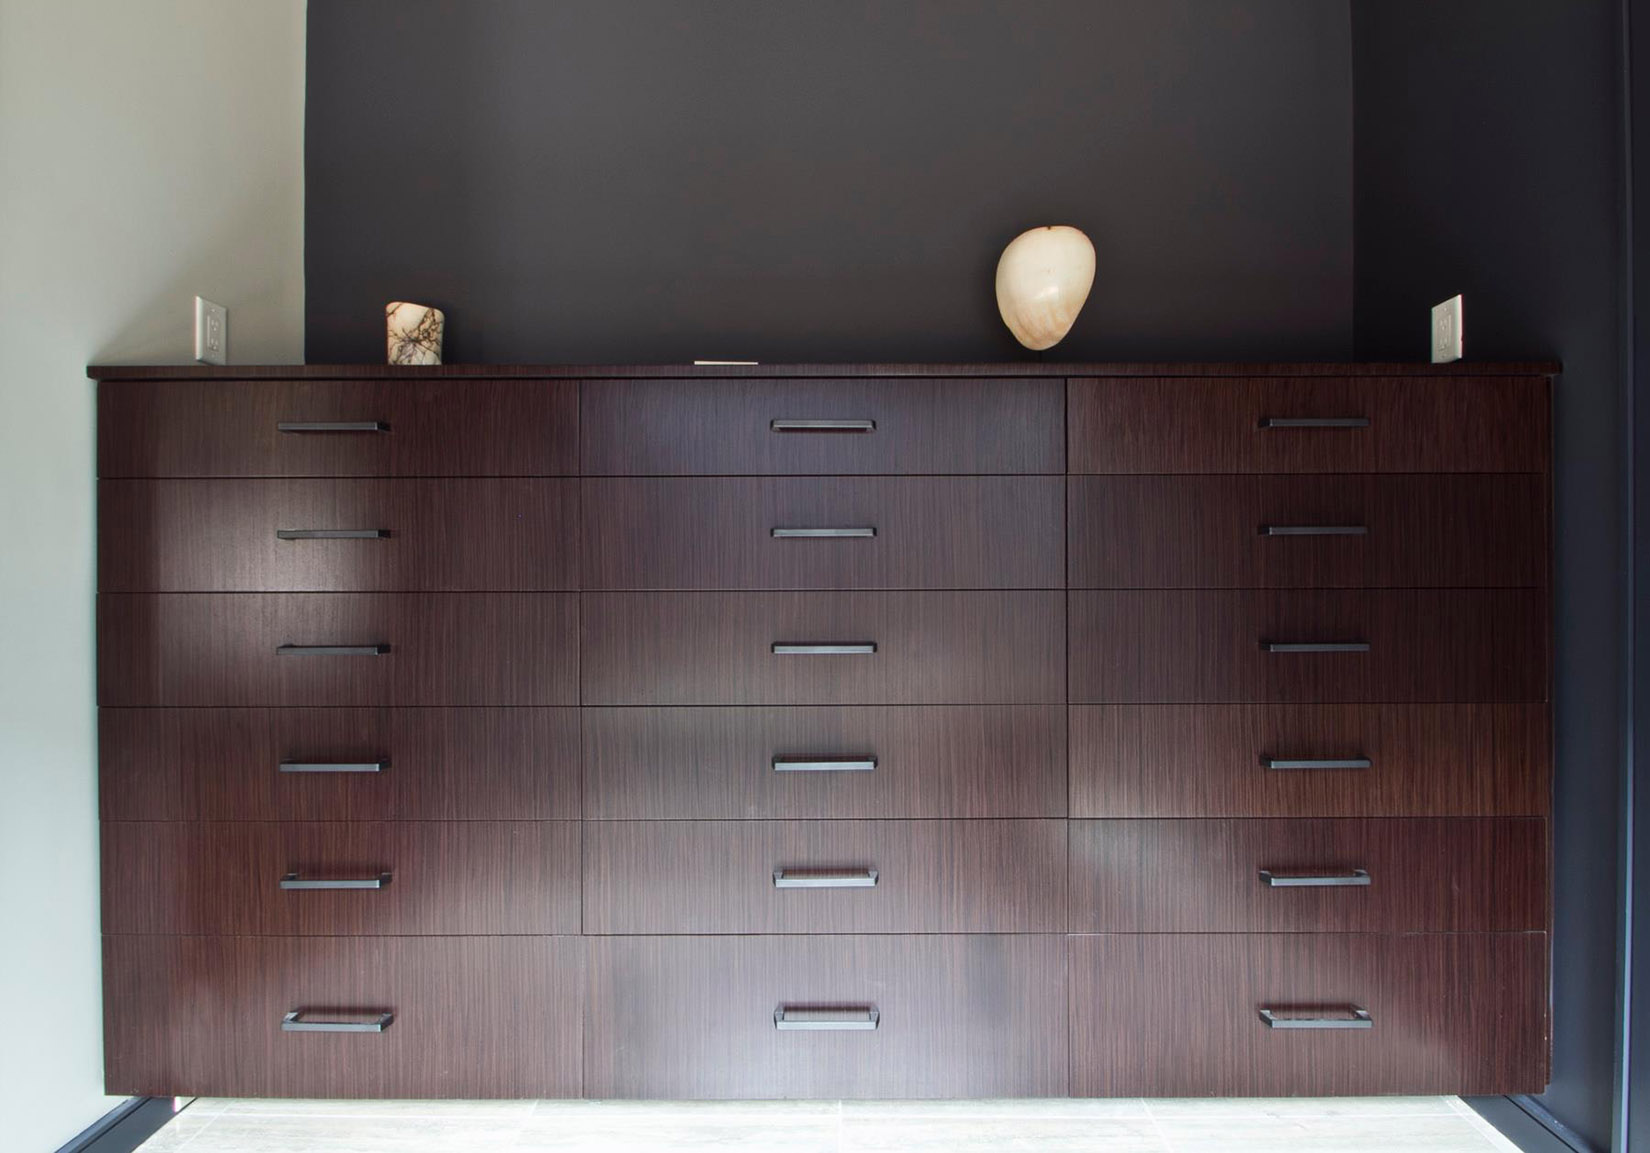
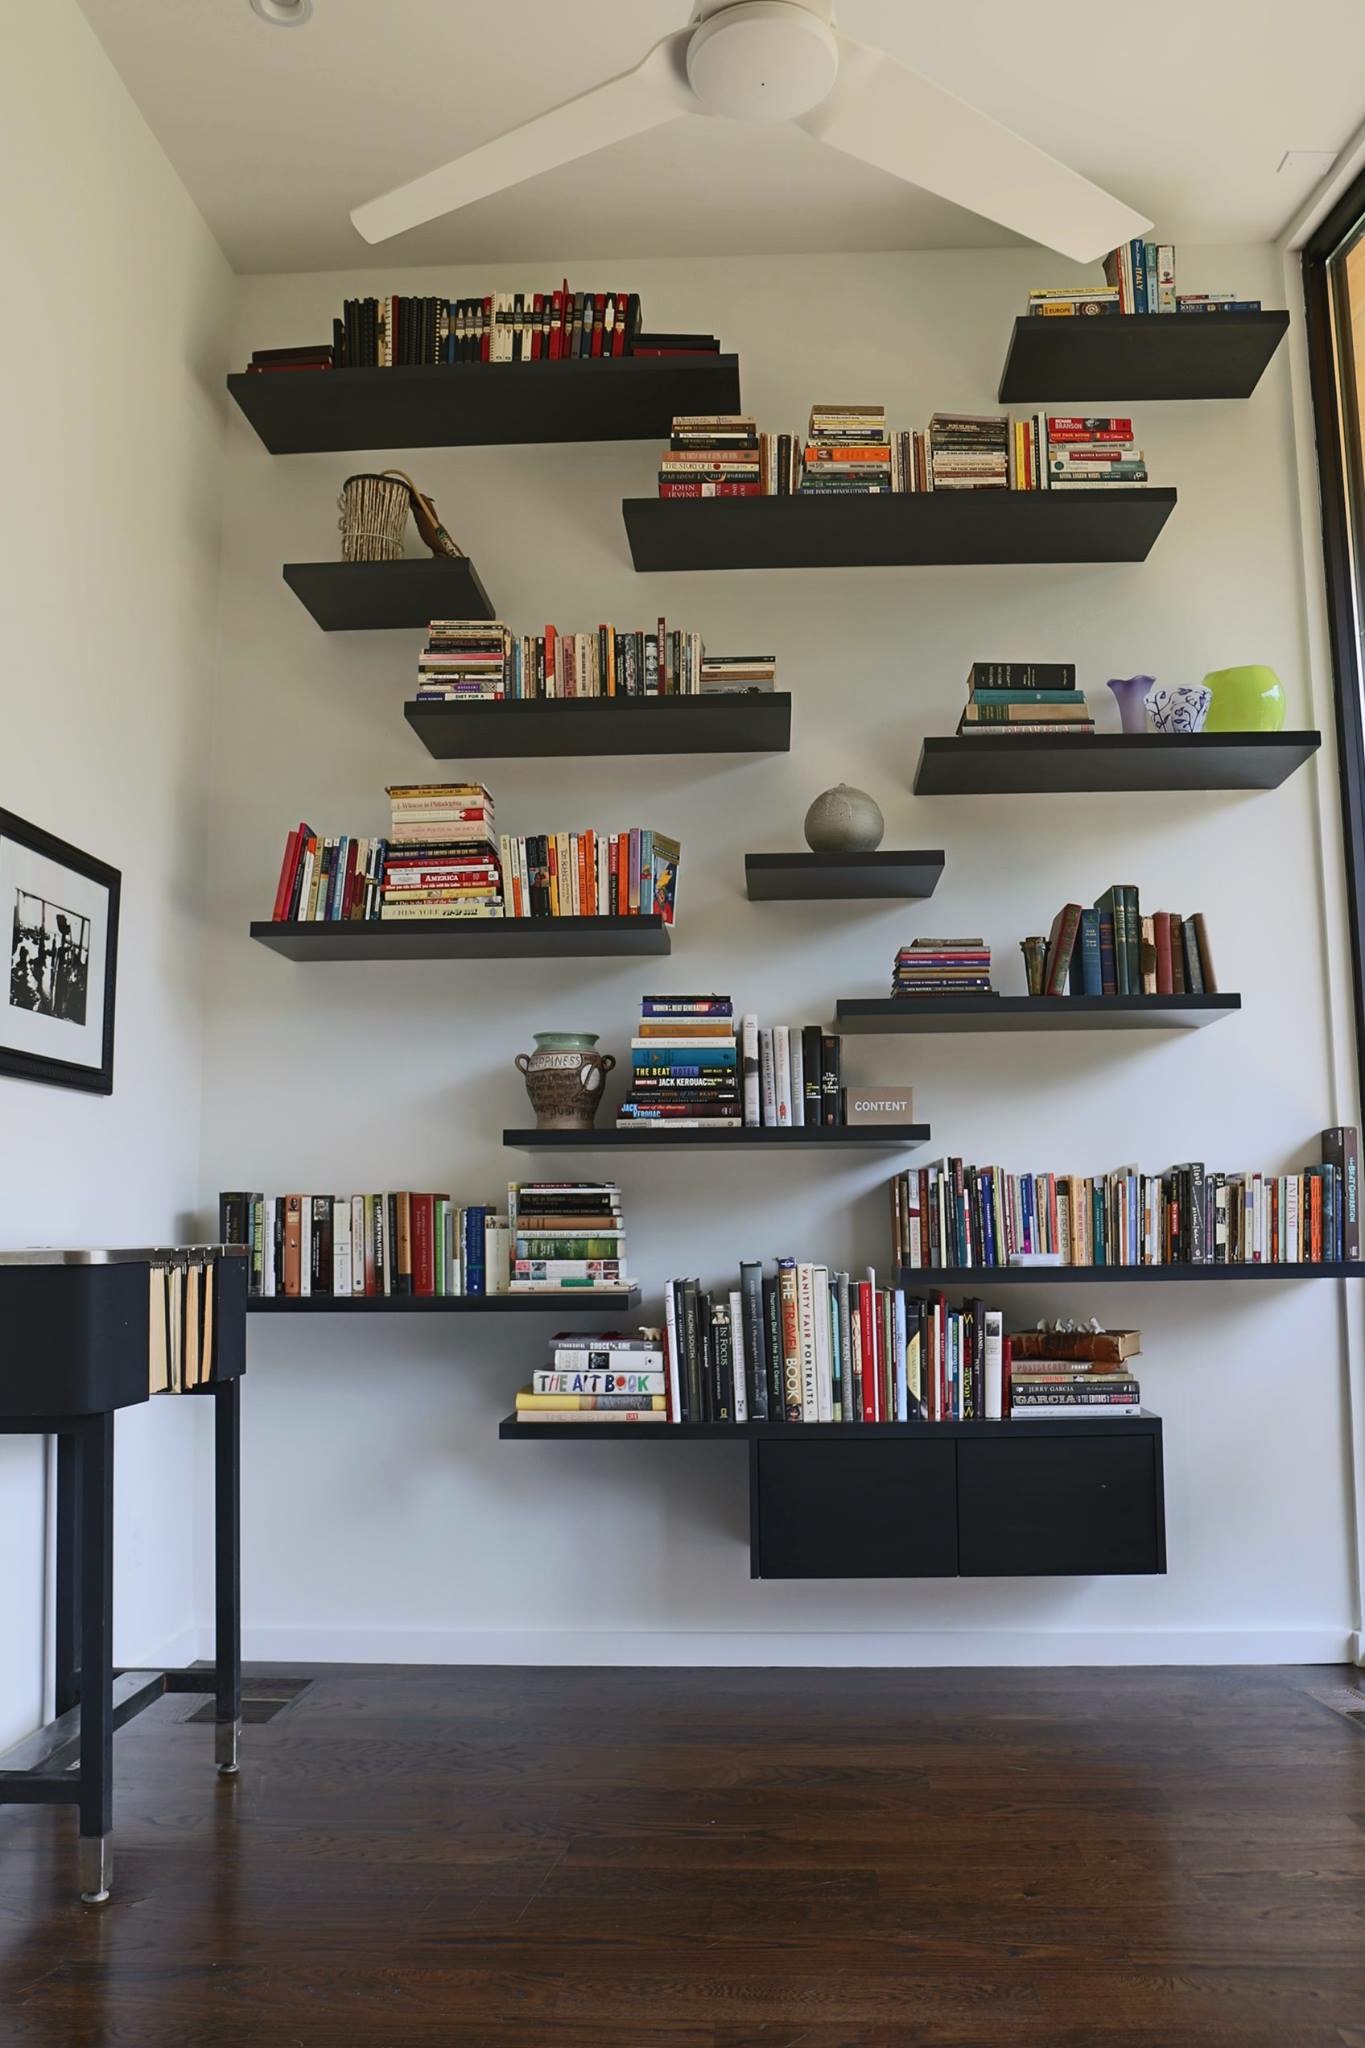
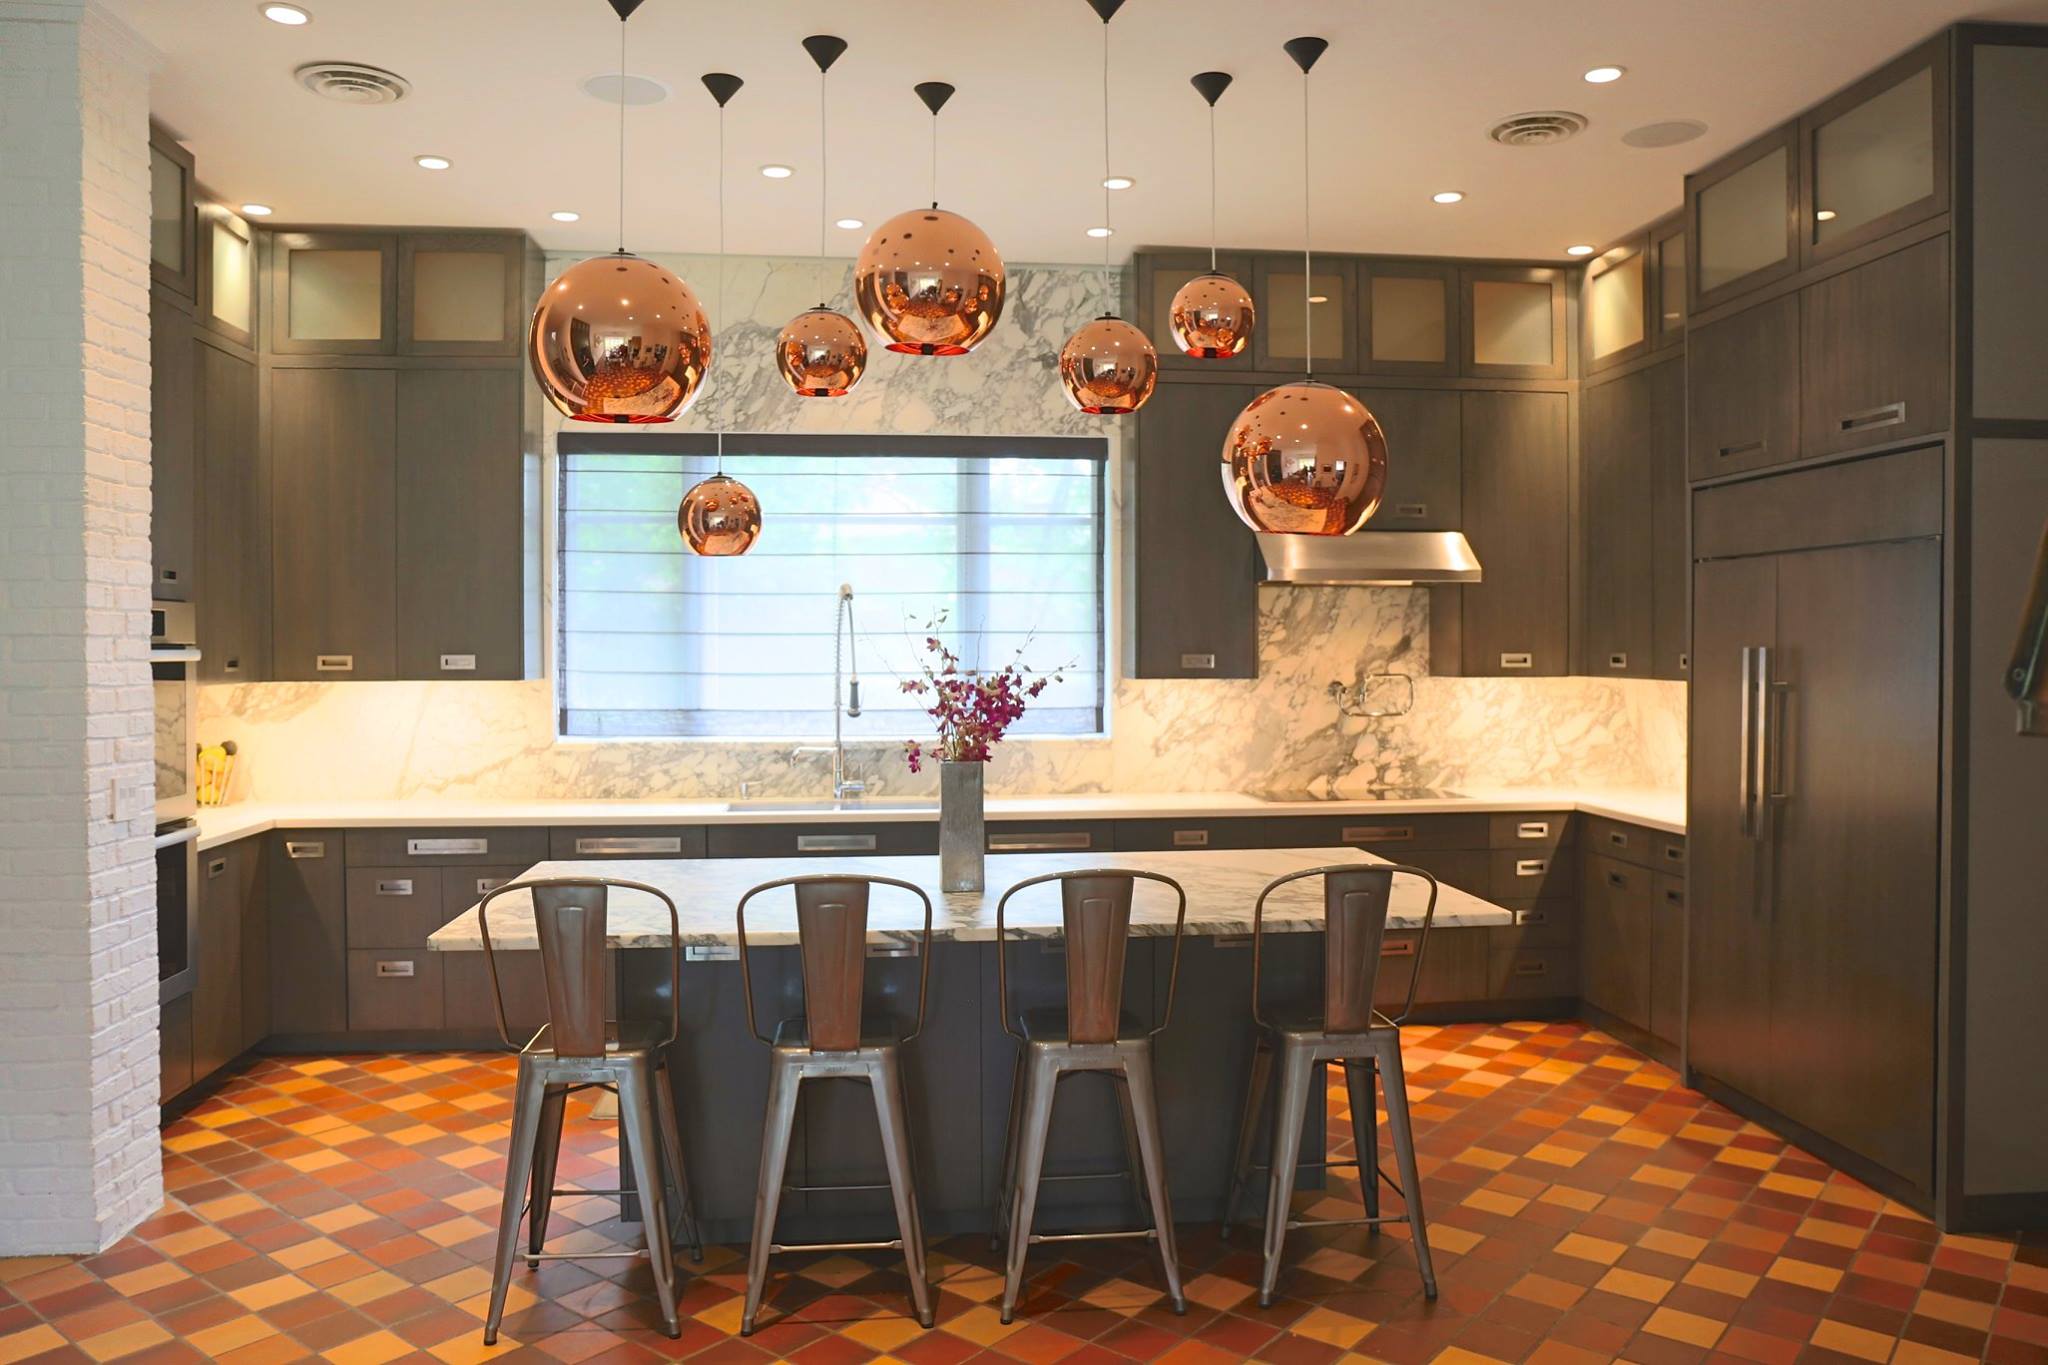
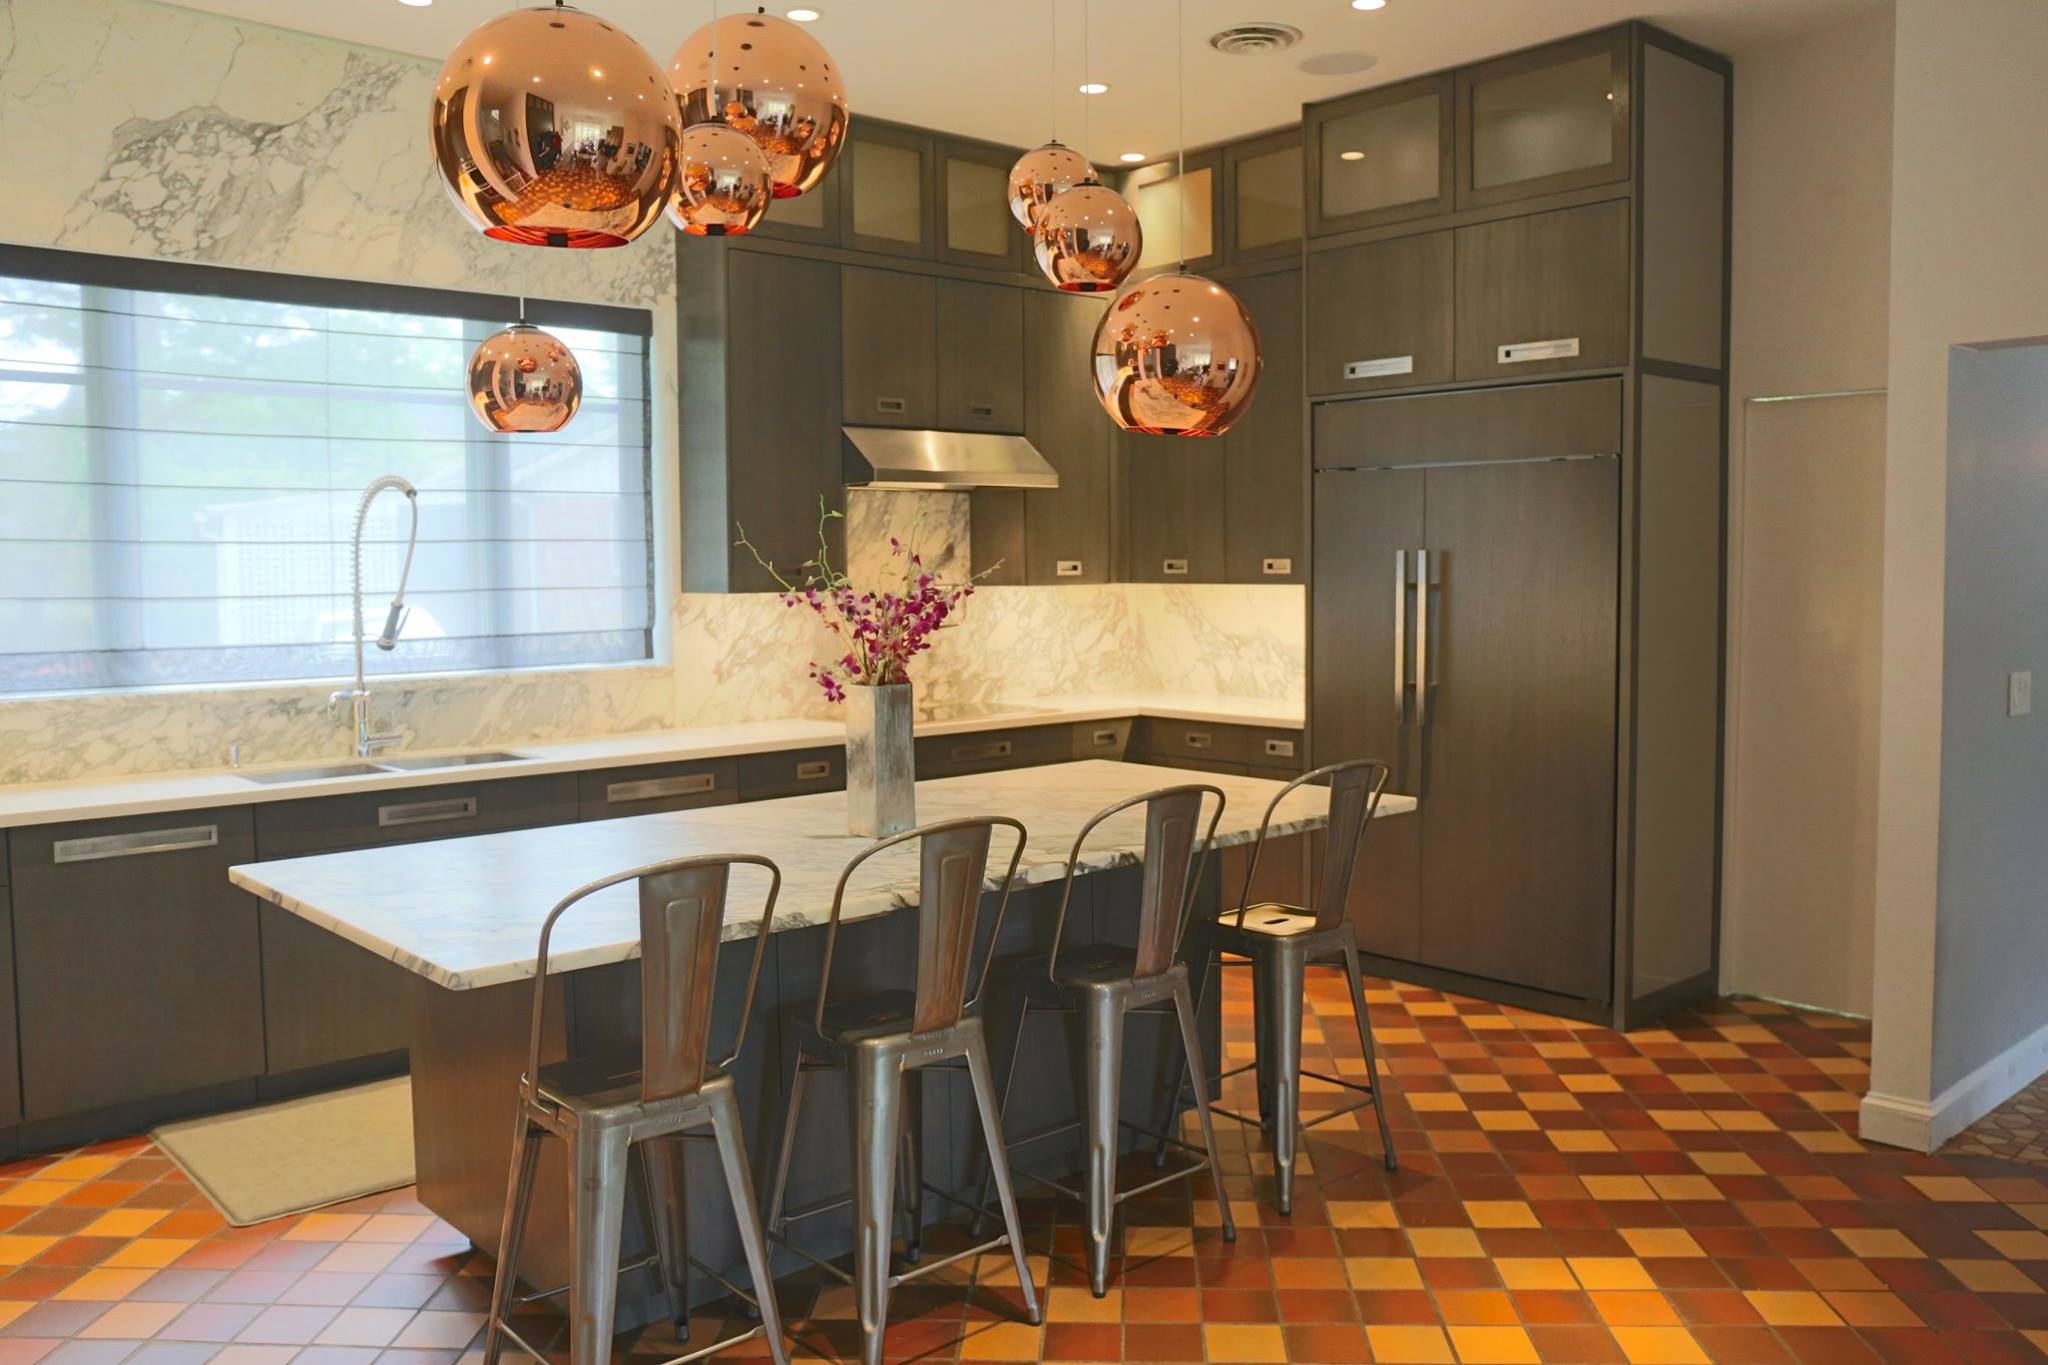
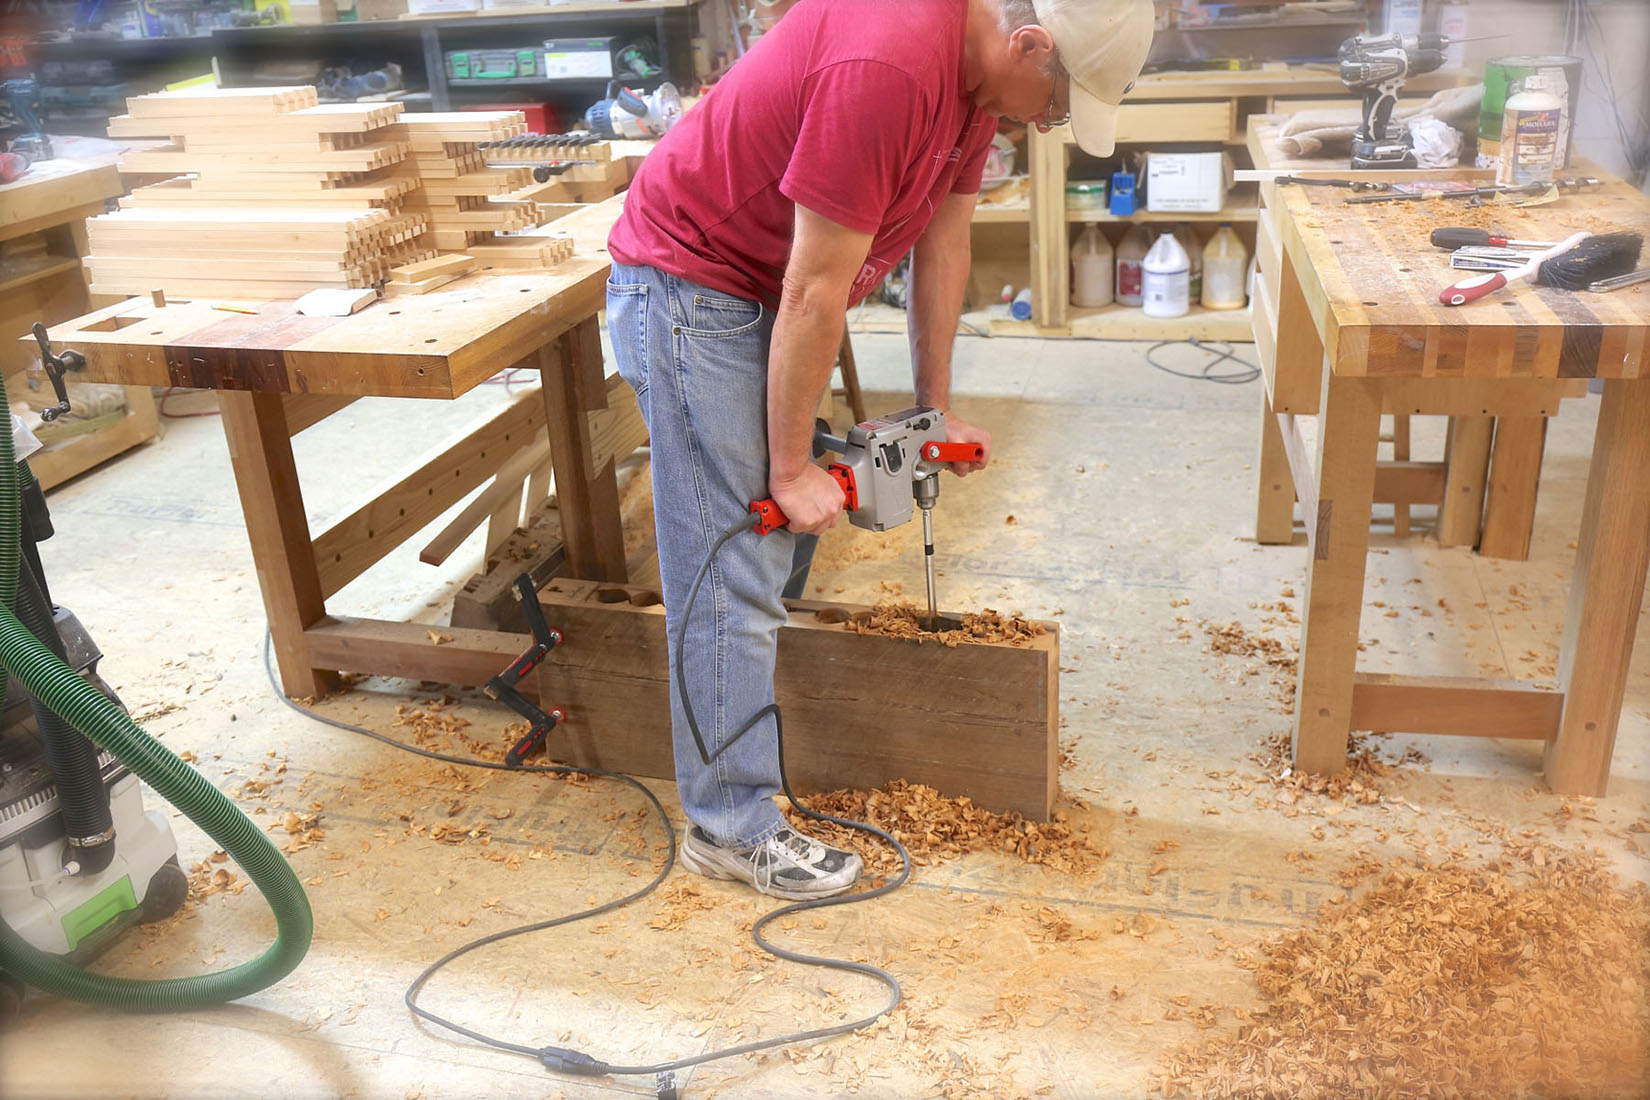
We’re grateful to have gained the trust of clients who have hired us to create their dream kitchens and other projects; this is the project we call “The Walnut House.”

Knowledge matters

Coming across this less-than-impressive work in otherwise well-crafted, big-budget homes made me stop and think about how these decisions are made.

Do the homeowners just not worry about the details that make the difference between a high-quality project and a shoddy one? Or do they not know? 

For those who are considering a remodel or new construction, I thought I’d pass along some insider perspective based on the Dark Horse approach to custom cabinetry.

First, it’s my experience that while clients know the big picture of what they want (style, color, etc.), they almost never tell you what they want when it comes to materials and construction.

For that reason (and many more), we have a spec sheet that we share with potential clients that outlines the type of materials we use. We’re careful to say, “This is what you’re getting.”

Our specs are identical 99 percent of the time; we never approach a potential job with the idea that we’ll customize our specs and use lower-quality, cheaper materials in order to give Dark Horse a better chance of winning a bid.

We’ve built our reputation on executing client projects the best way we know how, and in addition to the level of craftsmanship we offer, we make a point of seeking out the best products and materials available.

Here are a few examples:

  • Every cabinet box we build is two-sided, pre-finished and US-sourced.Why US-sourced? Once, we tried cheaper Chinese import plywood for some shop projects; when we cut the material, it smelled funny, and the sawdust from the cut was blue. Consistency in thickness is more critical than ever since we incorporated a CNC into our production – we have to tell the machine how thick the material is so that the joints come out tight. Domestic plywood tends to be much flatter – I’m not sure why this is but my guess is that it has something to do with the imported plywood sitting on a ship during transport.

    To give you an idea of the difference in materials, the domestic plywood we use costs $65-70 a sheet; some companies use particleboard that costs $18 per sheet (similar to what you see in IKEA furniture).

  • We don’t use prefab drawers, and that makes a huge difference in both looks and function.
  • We also use Zero Edge banding on our cabinetry, which is more heat- and moisture-resistant than typical edge treatments. But that advantage comes at a price – 80 cents per foot instead of 2 cents per foot for traditional hot glue edge-banding.
  • We use soft-close doors, slides, etc. – in short, the best hardware we can buy. It costs a little more, but it’s worth it. (There’s a lot of cheap, shoddy hardware out there.)


drawer-box.jpg

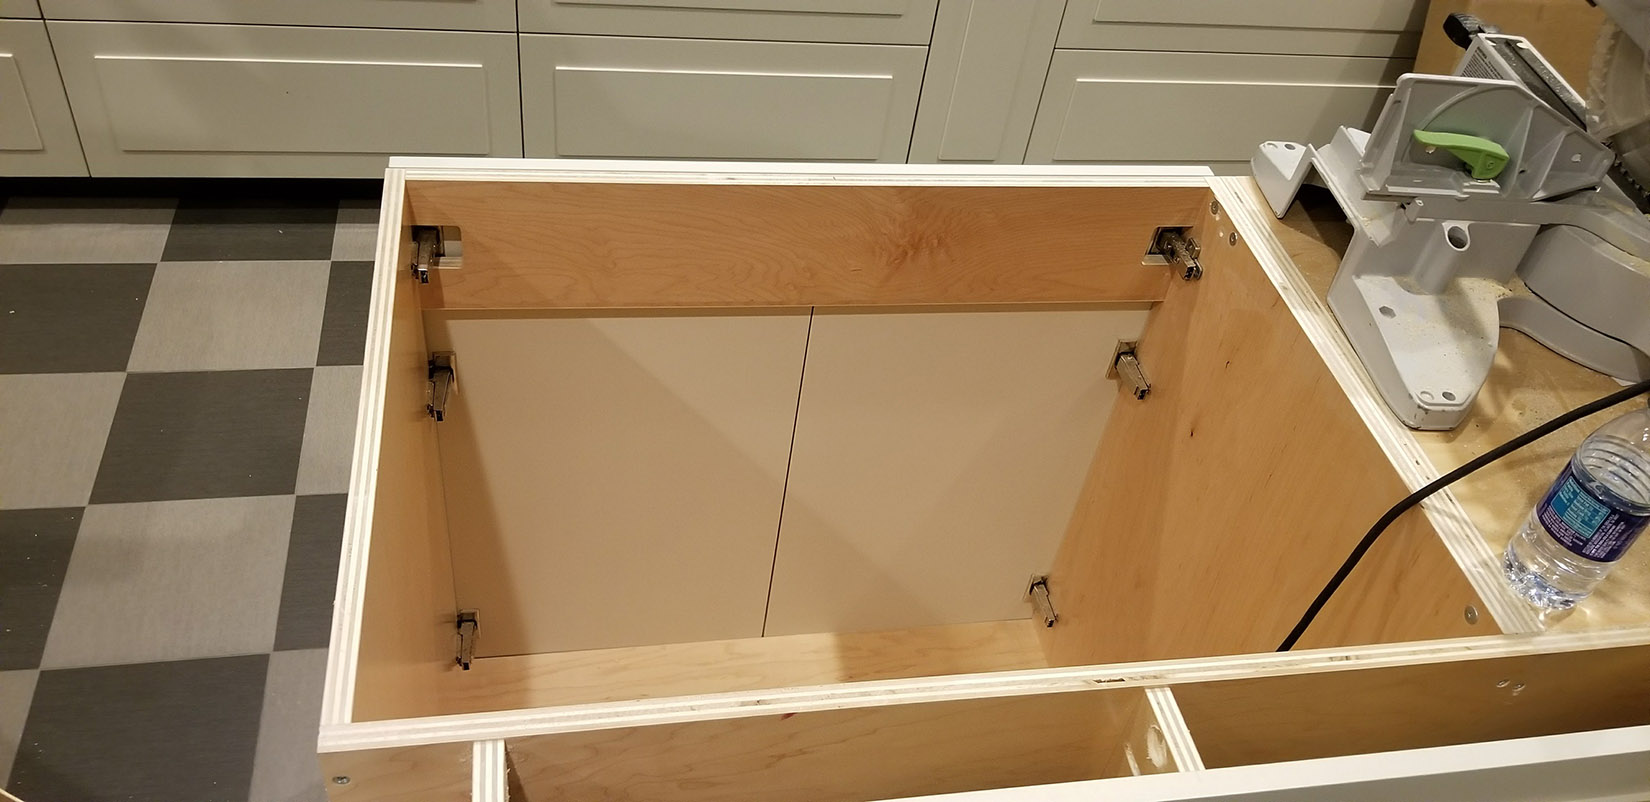
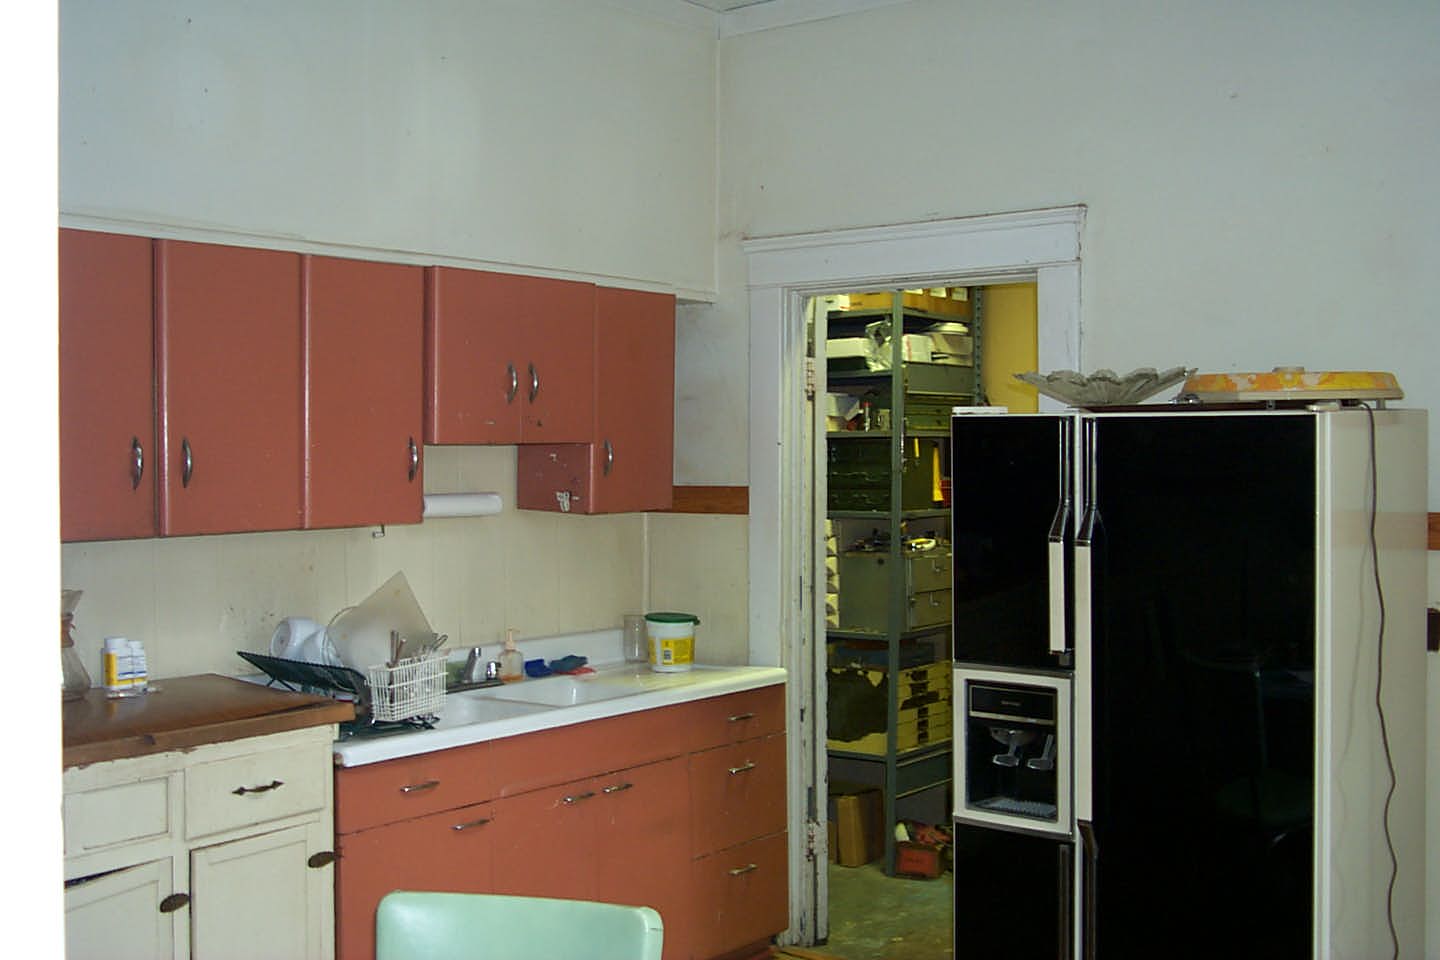
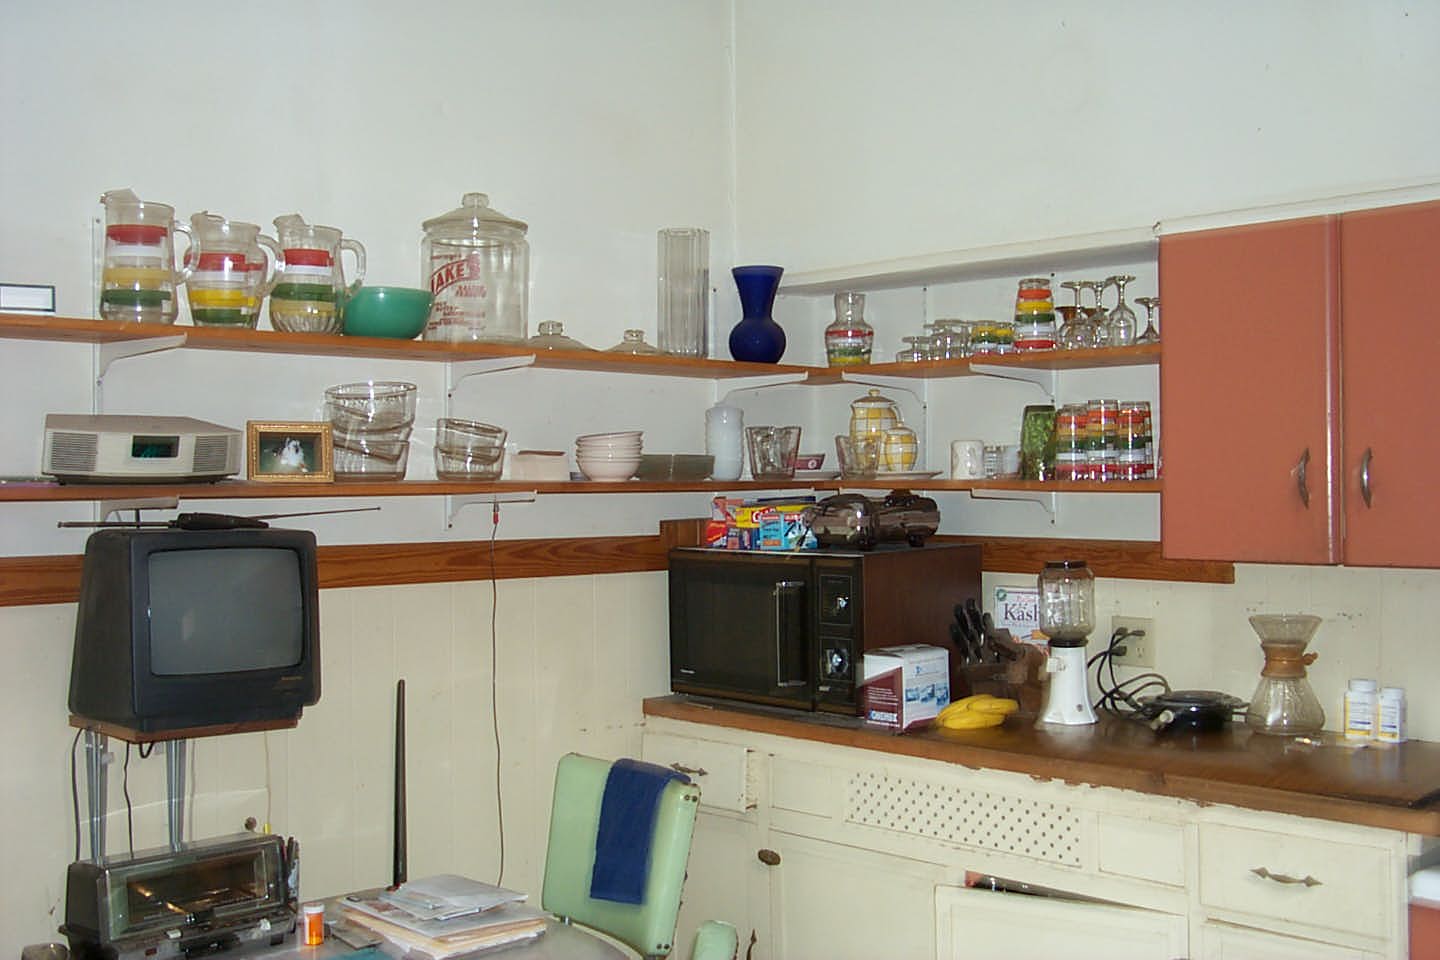
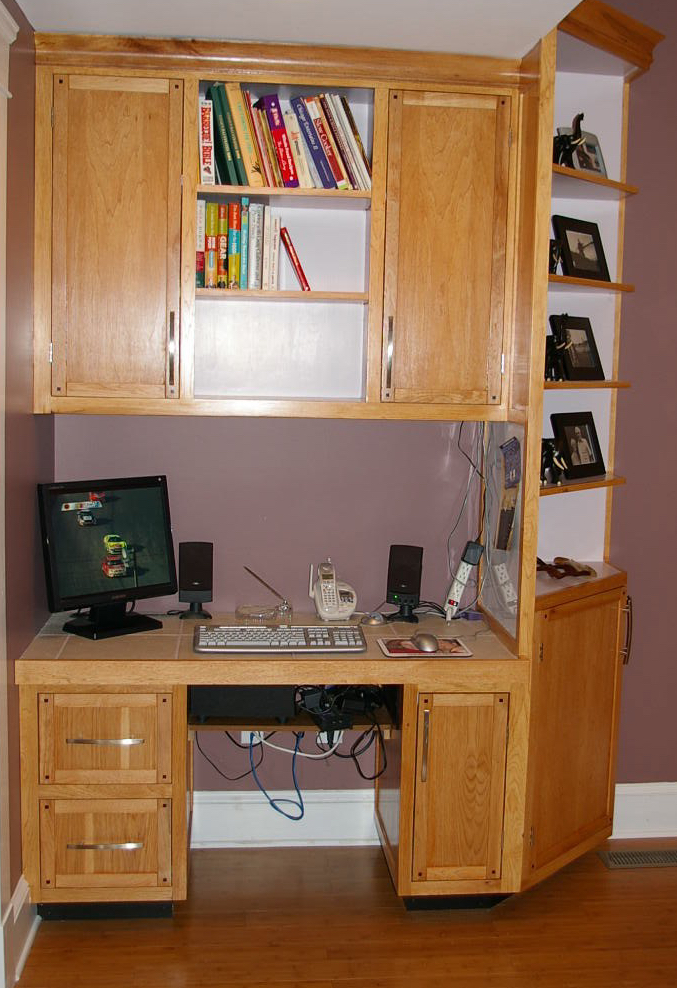
Here’s an in-process photo showing the kind of 3/4-inch prefinished plywood cabinet box construction that goes into all of our projects; this happens to be my own kitchen, which my wife and I decided to renovate last year. (There’s no top because this is a sink cabinet.)


What’s the lesson you can take away from this insider view?

You get what you pay for.

A company with a solid reputation and happy customers obviously excels at the craft of cabinet-making, but that company also begins with high-quality materials, and those materials cost more. (I have yet to find a magical source of stellar materials at bargain basement prices, but if you have any leads, I’d love to hear about them.)

Our Golden Rule

Some companies have the advantage of a showroom where clients can see examples of their work; that would be a great way to show our clients what quality materials and craftsmanship look like, but a showroom is not an option for Dark Horse.

So instead, we just try to emphasize to clients what we choose to use in our work and why we choose it.

And the “why” is simple – it’s the way I would want it done in my house. If I wouldn’t put it in mine, I won’t put it in yours.

~ Chris Dehmer

A renovation tale: Shoes for the cobbler’s children (Part 1)

In this modern version, I’m the cobbler, and it’s way past time for me to build a new kitchen at my house.

IMGP0281_edited-1

Our first kitchen reno – pre-Dark Horse

I’m pretty sure it’s impossible to build dream kitchens for clients year after year and not want to create your version of the ideal kitchen.

Long ago, about six years before chucking my day job and starting Dark Horse, I renovated our kitchen on my own. When we’d moved into our Craftsman-style house, the kitchen was tiny, maybe 10×10. It had a sink and a refrigerator, and that was it. The original giant cast iron sink was rusted and not very practical. The metal cabinets were not deep enough to hold modern dinner plates, and there was no stove or oven.

Kitchen Before

When we first bought our house, this was the state of affairs in the kitchen.

Kitchen Before2

And another view; this kitchen is a cabinetmaker’s nightmare.

The renovation I did as an amateur with some solid skills was fine – and it was certainly a huge step up from what we started with. The style we went with then was traditional, and the kitchen has served us well.

IMGP0284_edited-1-4083333225-1518110672510.jpg

But about three years ago, I reached the point where I had to do something with all of that inspiration I’d been getting from my Dark Horse work. While there was nothing wrong with our kitchen, it was not what I’d call “awesome” – and I wanted to come home to a truly awesome kitchen.

My wife and I were on the same page, and the decision was made.

Getting started

There’s no doubt that there are advantages to being a professional when you’re doing a personal kitchen reno project. But I’ve learned firsthand that there are some hurdles you can’t escape whether you’re an amateur or a pro, and other things that become more complex because you do this stuff for a living.

For instance, I quickly figured out that when the goal is agreeing on a design and making all the other decisions that have to be made, having professional expertise in the mix can complicate matters instead of speeding them along.

Most couples setting out on a renovation are starting from the same place, after all, learning as they go.

The unique challenge for my wife and me was the fact that we brought two very different perspectives and sets of experience to the table. Because I do this for a living, I have what is probably an excruciating amount of knowledge about everything that’s involved. On top of that, building kitchens for a living also means that I have strong preferences.

To sum up what I mean, picture this not-so-imaginary scene: My wife rolls her eyes as I explain why we must have XYZ feature/material/hardware in the new kitchen. Minutes later, I throw my hands up because she just doesn’t appreciate the great wisdom I’m bringing to the process. Repeat scene – many times.

Beyond the difference in perspectives, doing your own renovation also makes you appreciate the ease of working with clients on a kitchen that isn’t yours.

I have many conversations with clients about what their dream kitchens will look like, and I now recognize what a breeze this part of the process is for me. During the planning and design step, I get to lay out the options, explain the basics and then exit the process. The clients go away and hash things out, and we meet again to finalize everything.

When it’s your kitchen, you can’t step away from the process and let other people make the decisions. You have the same challenge as all of your clients who are doing a renovation with a partner: You have to work through it all with the other person, make a case for your (strong) preferences and end up as close to mutual satisfaction and civility as possible.

DSC00396

Another shot of the first kitchen I installed; it’s all gone now.

IMGP0279_edited-1

Desk area included in our original reno kitchen

Finding common ground

So how did we get through the decision-making phase?

My wife had been looking at a website called Houzz since we first started talking about the project three years ago.

In case you’re not familiar with Houzz, the short version is that it’s a website filled with home design ideas, photos of real-world, finished projects, vendor pages and a lot more. Dark Horse and pretty much any other company involved in building or renovating homes have a presence on Houzz because so many homeowners go there to search for ideas. Houzz turned out to be the main driver for my wife to figure out what she liked.

My past projects were a big source of inspiration for me, of course, and I knew from the start that I wanted to move away from the traditional look of our current kitchen. I liked some aspects of the modern kitchens that have become our specialty at Dark Horse.

At some point along the way, I spotted a kitchen I really liked in my wife’s saved projects on Houzz. I had never seen a style quite like it, and I’m sure that’s what caught my attention. By the time this kitchen entered the picture, we were on about version 6 of our project design attempts; the fact that we both liked this one was big, and we knew we needed to run with it.

There were still compromises to be made along the way, of course – for instance, my wife wanted painted cabinets, and I preferred wood grain. In this case, I decided not to push my preference since the overall design was something I liked.

Chance encounters

On top of the challenge of getting on the same design page, we also experienced another common renovation struggle: Getting to the starting line.

Building other people’s cabinetry for many hours a day can certainly take a toll on your personal renovation plans, and even the goal we’d picked as an incentive ended up being a convenient excuse to delay the project. When we’d decided to go forward with the reno three years ago, our goal was to have it completed before the Dark Horse holiday party that we host in early December every year.

But for the next couple of years, when work projects and personal obligations began to stack up in the months ahead of December, we’d throw in the towel. “Well,” one of us would say, “there’s no way we can get it done before the party now, so we might as well wait.”

In the end, it was a chance encounter that threw the switch on the project at last.

In January 2016, with the latest holiday party behind us and the renovation still not scheduled, I headed to a big industry show in Orlando. While I was checking out new hardware and other products for Dark Horse, I stumbled across some cool retro appliances, and they gave me a new shot of inspiration.

I came home and sent an email to a design team I know and asked them if what I had in mind was up their alley. They sent back an enthusiastic “yes,” and by the end of January, I had sent them a list of the appliances and other things we liked.

Full-steam ahead

By the end of February, the designers had sent us options for finishes, floor tiles, walls, backsplashes, etc.

The style we landed on doesn’t fit neatly into any of the usual categories, so maybe “eclectic” is the best way to describe it. There are modern elements, such as clean lines and minimal door hardware. The raised panels on the doors (kind of a reverse Shaker) give a nod to the Craftsman style of the house, and we added some retro touches via the appliances, tile floor, backsplash and reeded glass doors.

Once we hashed out the design particulars, the project fell into a good rhythm.

In March, we made final decisions on appliances, and by Memorial Day, I had begun building out the cabinetry. Around the first of August, the cabinets were done, and I decided to start demo the week of Labor Day. One of our dogs is petrified by loud noises, and we decided it would be better to have him out of the house; my wife and the dogs headed out of town to join family for a long-planned vacation, and I got ready to dismantle that kitchen I had labored over all those years before.

On HGTV shows, everything I’ve just described takes place in a span of days, not years, and “Demo Day” is a pretty exciting highlight for everyone, with homeowners and TV hosts alike bashing walls and ripping cabinets apart.

In order to keep some suspense and excitement going in my reno story, I’ll wrap up Chapter 1 (“before”) here and begin Chapter 2 (“during”) with the thrills of Demo Day; be sure to tune back in to find out what a Demo Day is like in the real world!

SaveSaveSaveSave

SaveSave

A lucky glimpse of our work on a “mid-century modern treasure”

Screen Shot 2017-08-18 at 4.46.51 PM
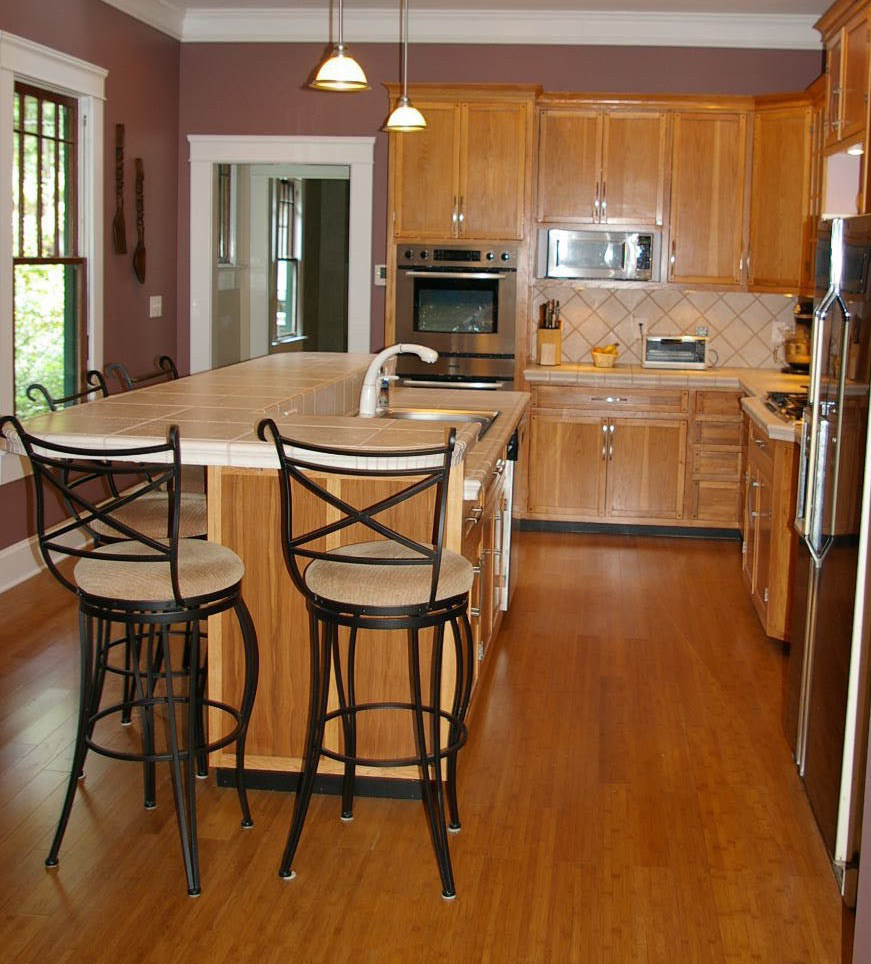
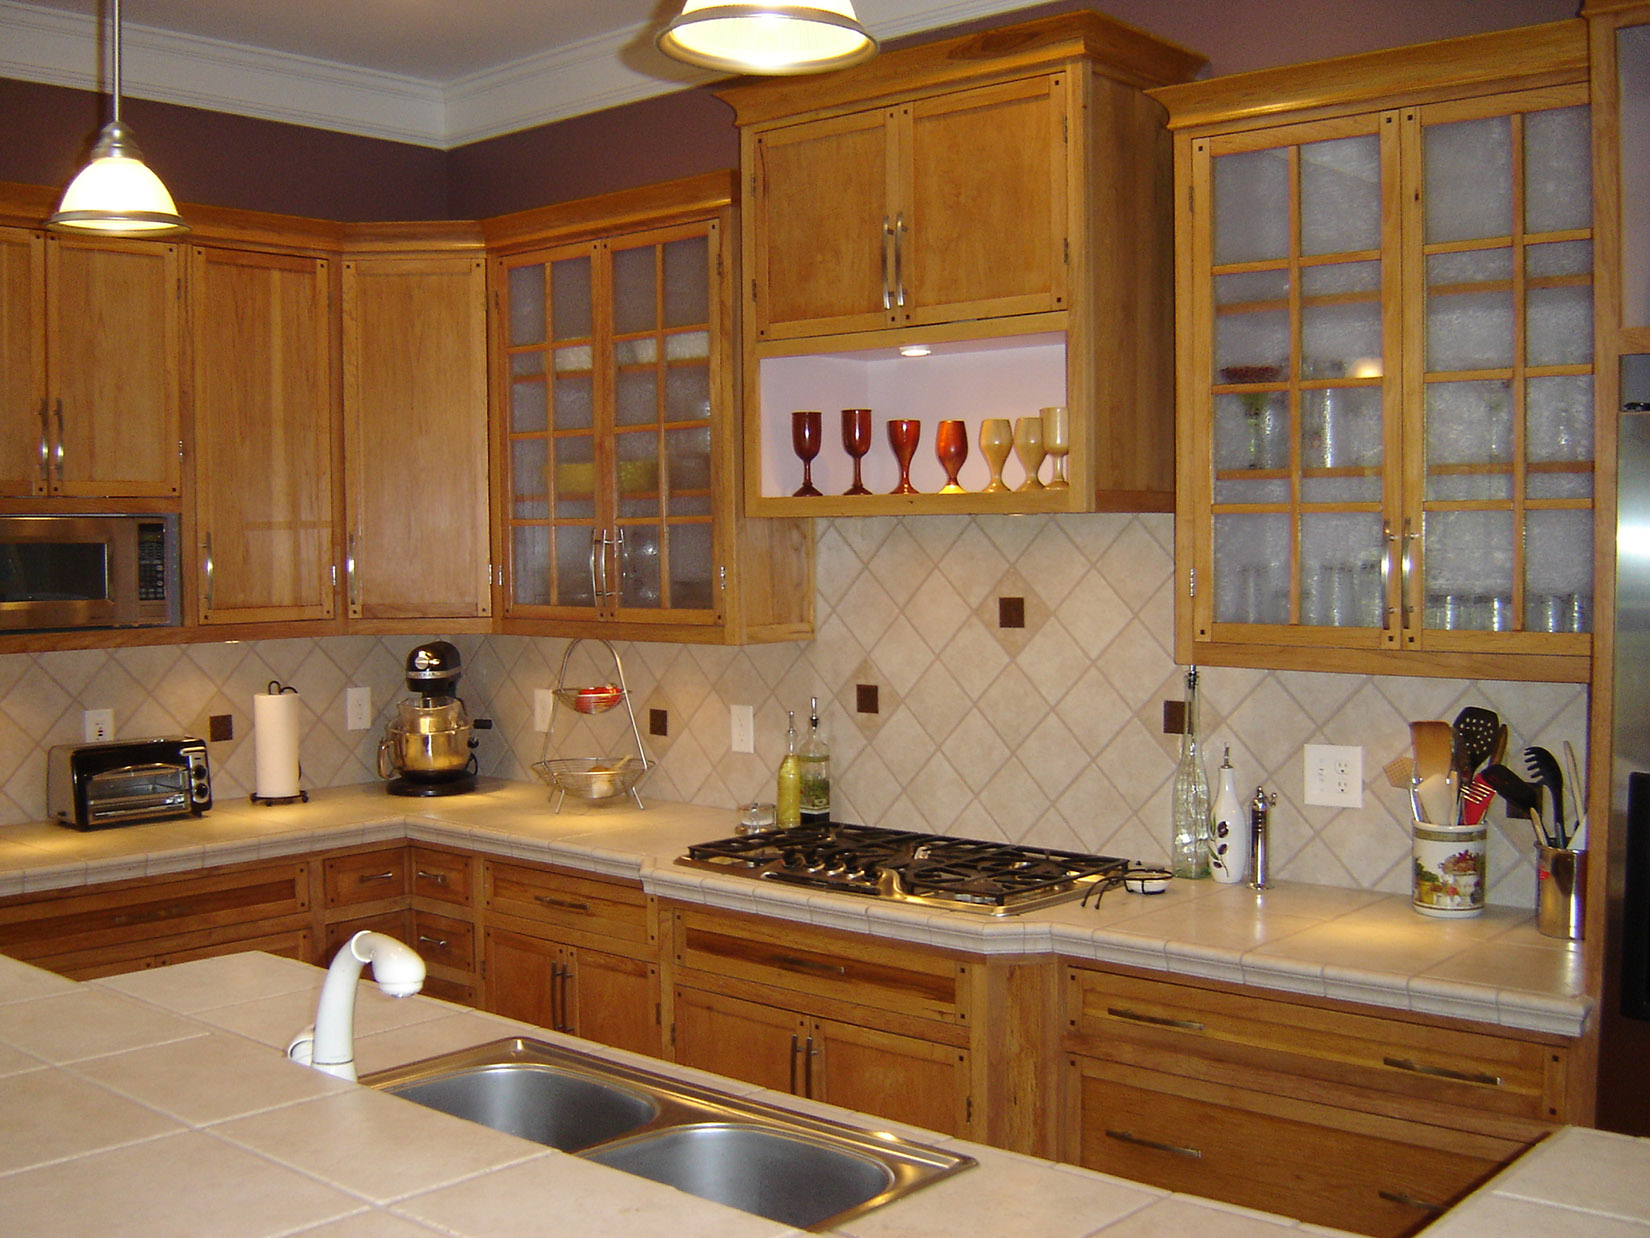
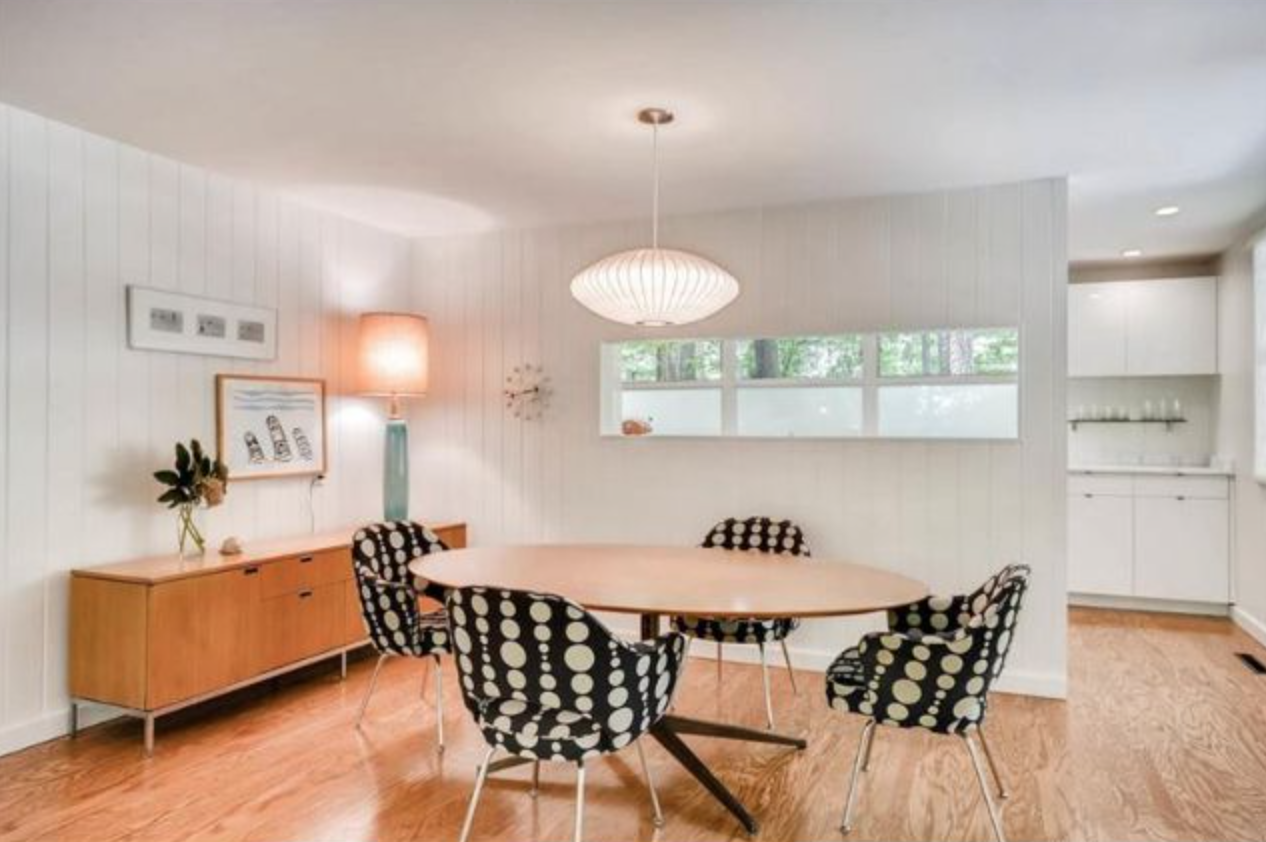
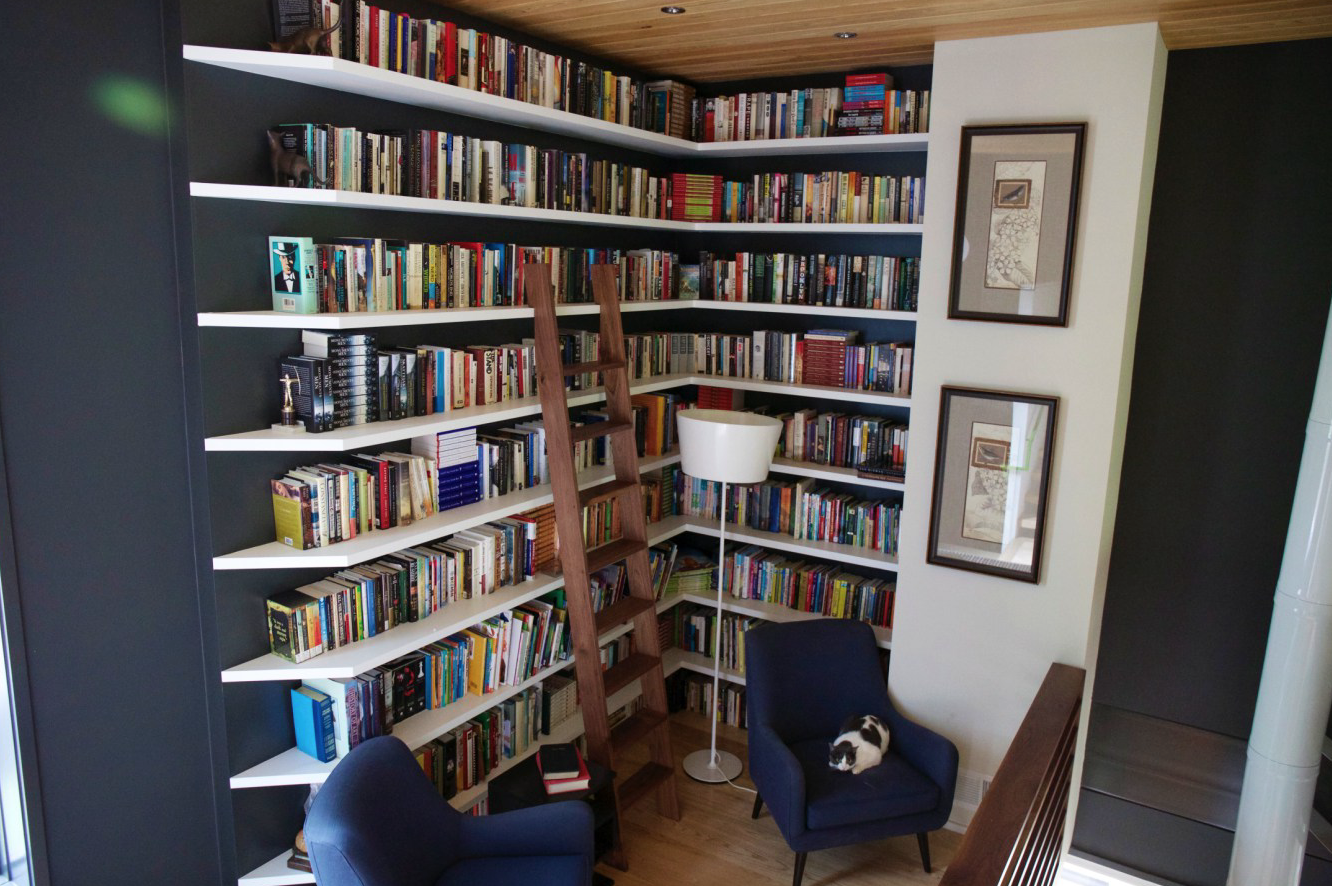
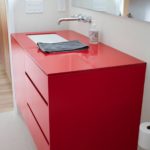
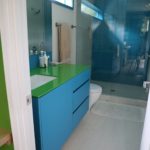
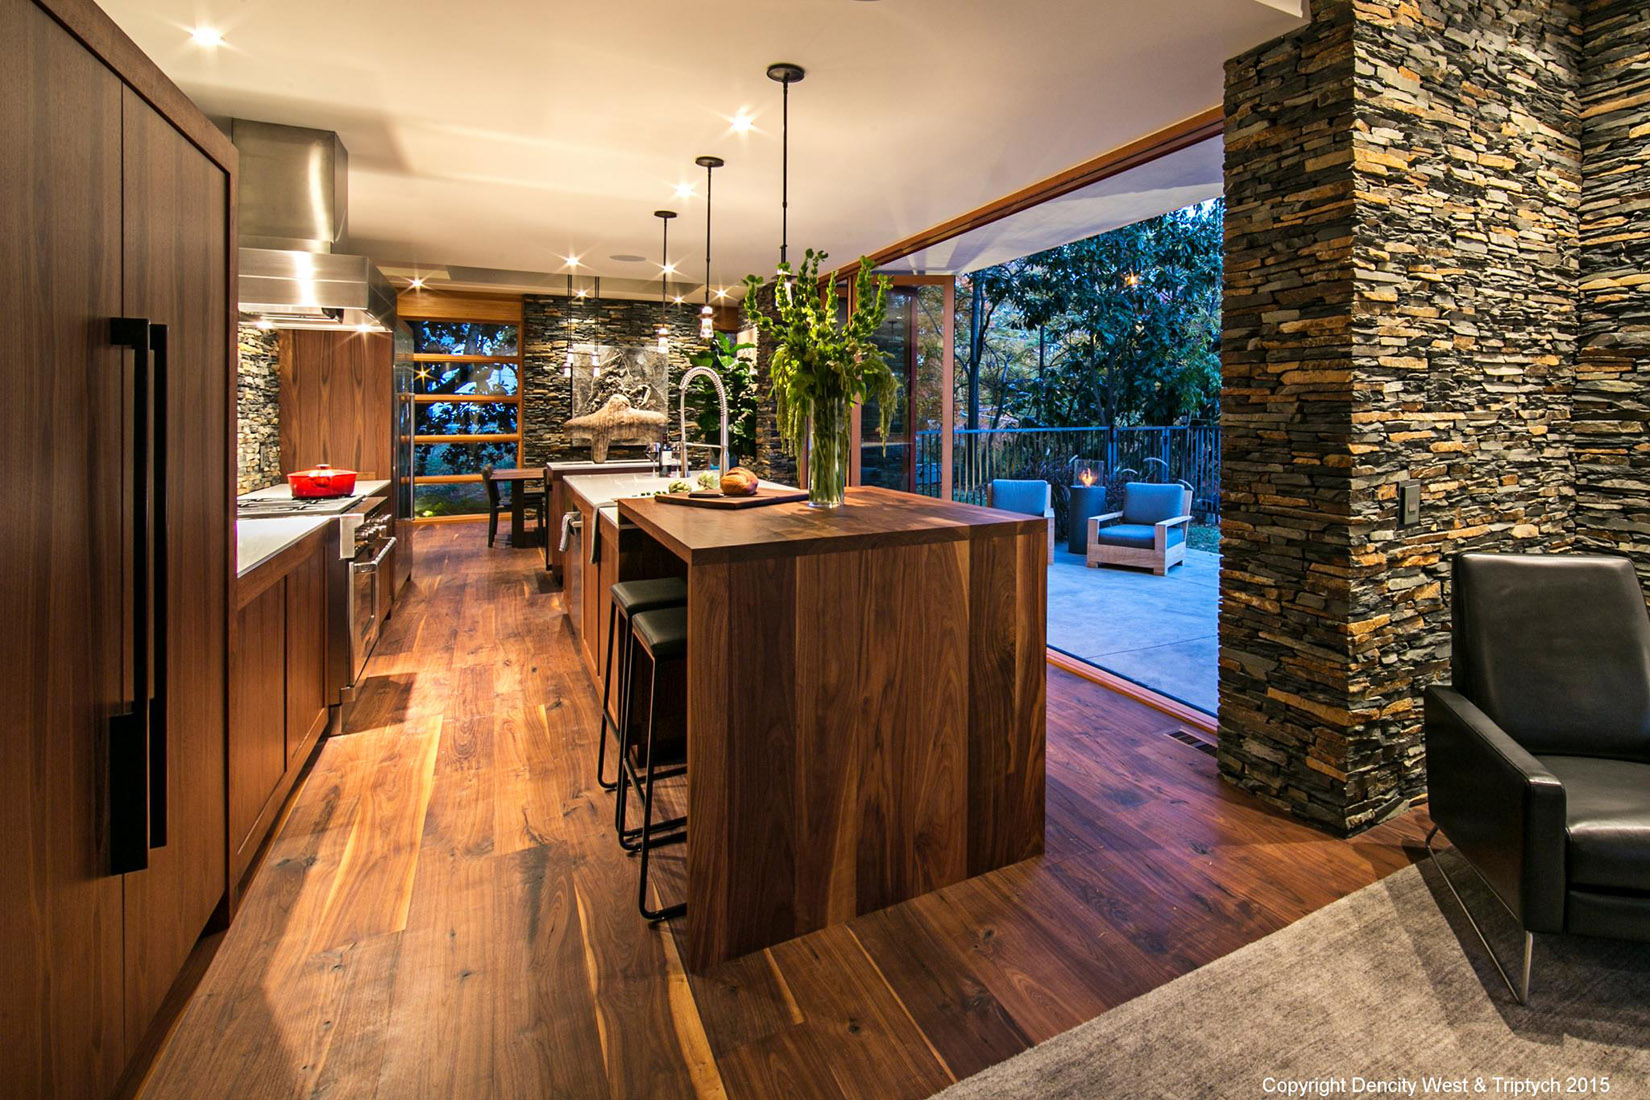
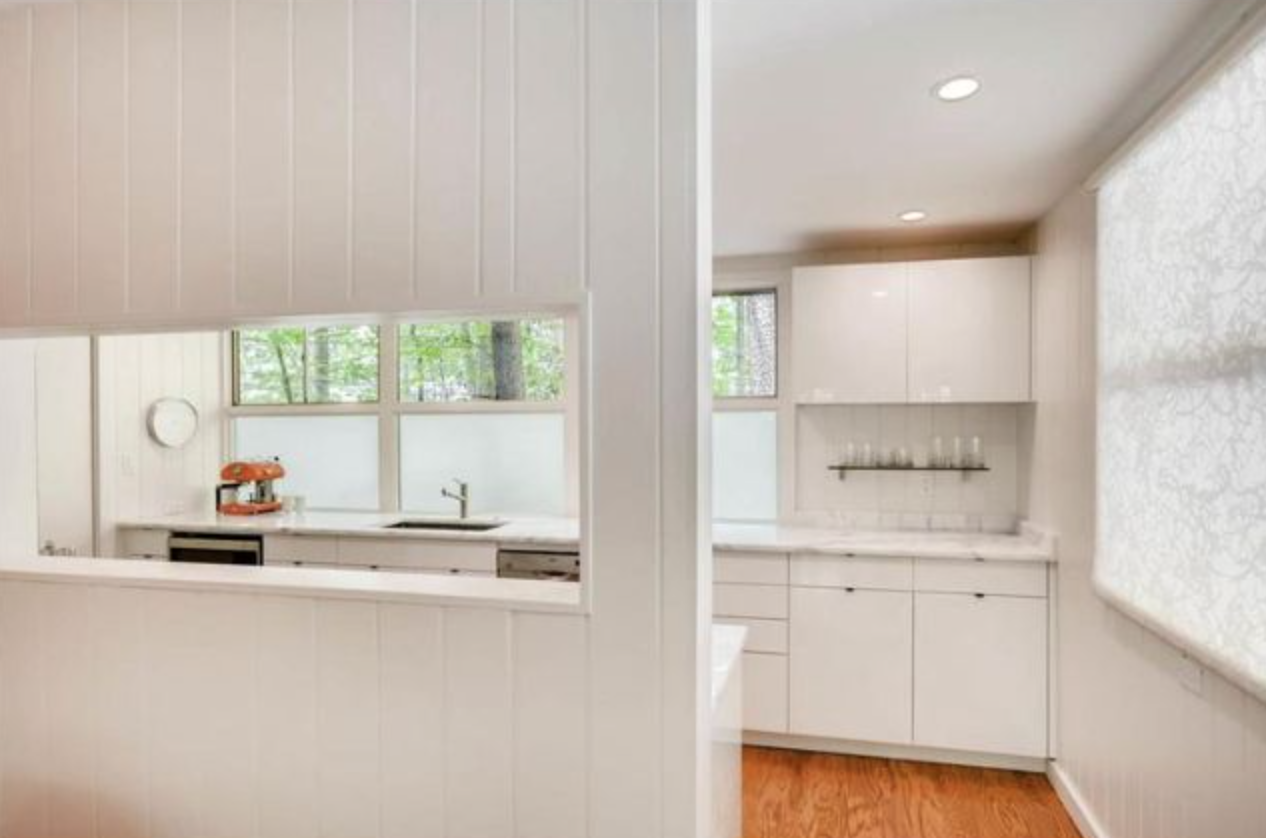
For most of our projects, we create cabinetry for multiple rooms in a home, and we end up with extensive photos of the final “product” that we share in our gallery.

For a recent project, we worked on only one room, creating high-gloss kitchen cabinetry with the Zero-Edge technology we invested in last year. In this case, we did not do the installation, which is rare for us. Work is hopping, and I never followed up to get post-installation photos of the finished kitchen.

Screen Shot 2017-08-18 at 4.47.07 PM

Fortunately, this beautiful mid-century modern home went on the market not long ago, and it drew the attention of Curbed Atlanta, which featured the home in July (“In Druid Hills, midcentury modern treasure is ‘unadulterated’ for $799K”).

Screen Shot 2017-08-18 at 4.48.29 PM

It was great to see the finished kitchen, and thanks to the kindness of the staff at Domo Realty, which is handling the sale of the home, I’m able to share screenshots of the kitchen here.

Screen Shot 2017-08-18 at 4.46.35 PM

A view of the kitchen from the dining room

If you enjoy mid-century modern, I highly recommend that you take a look at the Curbed Atlanta feature, as well as the Domo Realty listing for extensive photos of this distinctive home.

And the folks at Domo also passed on a compliment that we appreciated: The house is under contract, and they told us that the kitchen helped sell the house. We enjoy seeing all of our projects through from start to finish, and that kind of feedback is the icing on the cake.

Floating

At Dark Horse, we’ve created quite a few things that float. (And nope, we haven’t run away from home to become magicians.)

In design parlance, floating simply means that a shelf (or a table or bench or whatever you dream up) appears to float on a wall, with no visible brackets holding it there.

For this #ThrowbackThursday post, here are a few of the floating features we’ve created for clients.

In the Oakview home, we created a floating library:

Screen Shot 2016-07-21 at 11.29.23 AM.png

… and two colorful powder-coated steel vanities for the bathrooms:


… and a beautiful walnut floating vanity for another spectacular bathroom in the house.

1053255_10151695367382044_2081993252_o

In the Highland House, quite a few things float. When you come in the front door, you see our floating lockers in the entryway:

11080844_10153309355572044_9179875606394250766_o.jpg

Both the large walnut vanity and a simple bench float in this Highland House bathroom:


In this bedroom, two “live-edge” nightstands float on either side of the bed. (“Live-edge” means that the natural edge of a piece of wood is incorporated into the design of the piece.)

11136188_10153309355052044_3873632321186502006_o

In the Friar Tuck home, which was recently featured in the New York Times, we built elegant floating Macassar ebony vanities for two of the bathrooms:


… as well as a floating dresser:

466024_10151294998907044_404598111_o

And for the Olympic house, we built another floating library. This stained walnut veneer shelving is held up by steel supports hidden behind the sheetrock; each shelf is rated to hold 1,300 pounds, so the clients can bring on their heaviest books and treasures!

Olympic library

We love doing all of this sleight-of-hand work for our clients (especially since it’s tough to make a living as an actual magician), and we hope these creations give you some inspiration for your next renovation project.

~ Chris and the Dark Horse team

Details: The kitchen that needed a library ladder

We like new twists, and this is one that we haven’t covered on the blog: For a very cool mid-century modern home in the Decatur area, we created kitchen cabinets that are more than 11 feet high from floor to ceiling.

To ensure that the homeowners can easily use the cabinet space at the top of the cabinets (oak veneer with a custom gray stain), the contractor decided to add a library-style ladder.

The bad news?

The photos were taken before the ladder was added. (Fortunately, we know all of our followers have vivid imaginations and can picture how cool this would be.)

But if you look closely, you can see another cool feature in the photo below. That tall cabinet on the far right may look like pantry space, but it’s actually the refrigerator in wood “camouflage.” But these clients have kids, so we added a steel panel on the side of the fridge so they would still have a spot for a kitchen art gallery.

It’s unique requests and finishing touches like this that make every project a blast.

From a dream to ‘Dwell’ – and a new home for Dark Horse

I started out like most people – getting a “regular” job that was fine and paid the bills.

I didn’t get very excited about going to work, but I guess I figured that was the way jobs were supposed to be – a means to an end.
our new home

For years, I worked in construction management, overseeing the installation of Hudson News stores and other kinds of projects.

Finally, it hit me one day that I wanted to build things, but not with sheetrock. Someone I knew wanted a kitchen, and I said I would do it. I probably ending up shelling out money on that project, but it was a beginning.

I launched Dark Horse in my 220-square-foot home garage in 2007. Soon I needed more room, and my first rented space was a whopping 975 square feet. I remember thinking when I moved in that it was a lot of space, but I outgrew it within a year.

Our next growth spurt took us to 3,700 square feet, and now, seven years in, we’ve moved to a new, 6,000-square-foot home, something that seemed unimaginable back in those early garage days.

DHNewSpace2

Top this growth off with having our work featured in Dwell magazine recently, and I can truly say – without a bit of schmaltz or exaggeration – that dreams really can come true.

It just takes a healthy distaste for a blah 9-5 existence, a leap of faith and a lot of long hours.  But all hours aren’t created equal. When you pour hours into work you care about, and you know you will be proud of the final product, those are hours well spent. And shouldn’t we want to spend our time on what satisfies us?

If you’ve been scheming and dreaming of doing something else for years but were afraid to go for it, you can consider me the Poster Boy for leaps of faith with successful landings.

To borrow from Nike: Just do it.

~ Chris Dehmer